How to access and mark Blackboard assignments

This article provides guidance on how to access and mark a Blackboard assignment. The guidance can be used for Blackboard assignments with a single marker, or multiple markers (delegated marking).
When delegated marking is enabled, the first and second marker can work in parallel to mark a submission and provide separate marks and feedback to students. Provisional marks are then reviewed and reconciled by a nominated member of staff to produce a final grade.
Accessing assignments
You can access a Blackboard assignment via:
- Full Gradecentre to display all students and assessments for the course.
- A Smart View (if one has been set up), to display a custom view of the Gradecentre, that you can access by clicking on a personalised menu link.
How to access an assignment via Full Gradecentre
You can access an assignment via the Full Gradecentre by following the steps below within the relevant Blackboard space:
- In the left hand menu, choose Control Panel>Grade Centre>Full Grade Centre to open the Full Gradecentre.

- In the Gradecentre, you will see a list of all students and all assessments for the unit.
- Next, locate the correct assignment column and student that you need to mark. To do that, you can click into a cell within the Gradecentre and then scroll to the relevant assignment (column) and student (row).
Tip: You can change the order of students to Sort Ascending (A-Z) or Sort Descending (Z-A) on either Last Name or First Name. To do that click on the grey arrow in the relevant column heading and choose the appropriate option.
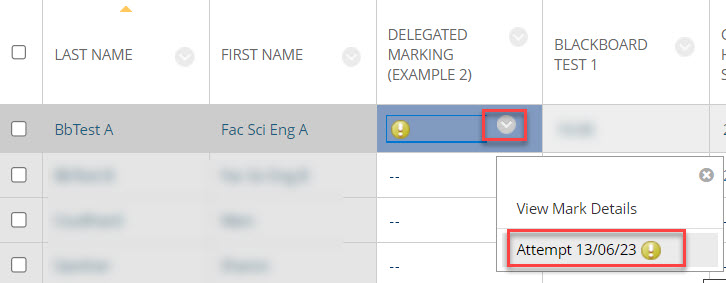
- Once you have located the correct student/assignment, you will usually see a yellow circle with an exclamation mark in the relevant cell. (This symbol indicates that an assignment has been submitted and needs marking).
- To access the student assignment, click on the grey dropdown arrow in the relevant cell in and then click on the attempt to open the assessment for marking.
- Once you have clicked on the attempt the assignment should open in marker view.
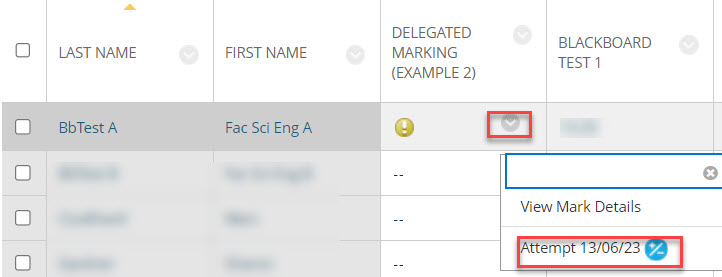
What happens if I cannot see Attempt (date/month/time)?
Occasionally, the usual route of Attempt DD/MM/YY may show as View Attempt. If this happens then click on View Attempt to access the Mark Details page and then under the the Attempts section, click on View Attempt (as shown below).
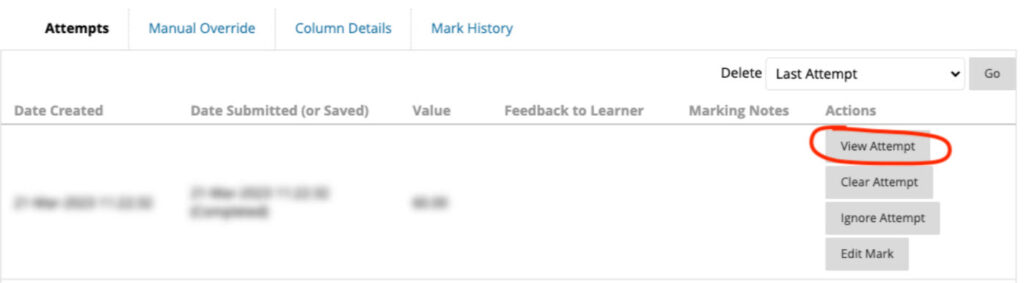
Note: If you cannot access a submission, by clicking on the View attempt link, then contact eLearning for support.
How to access an assignment via a Smart View
If a smart view has been created and added as a menu favourite, then you should see a menu link, which will typically include your surname and initial. A smart view provides a custom view of the Gradecentre, so that you can focus on marking a particular group of students (rather than seeing all students).
- In the left hand menu, go to Control Panel>Grade Centre and click on Gradecentre to expand the menu options available, including any smart views that have been created.
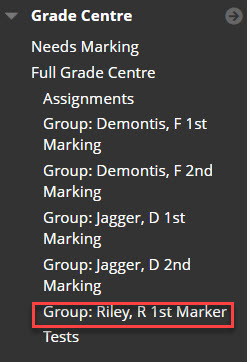
- Click on the relevant menu link to launch the Gradecentre.
- The custom view should include the relevant assignment and student(s) that you need to mark. If you cannot see the relevant assignment or all the students that you need to mark, then contact your programme team for support in the first instance.
Marking assignments
Once you have opened the attempt you should see a view similar to the one shown below. You can hover over menu icons to reveal menu names and also refer to the menu summary below for further information.

Marking assignments – Menu summary
You can use the menu options as follows:
- Change the view (thumbnails, arrows to navigate between pages, pan, zoom out / zoom in and fit page).
- View annotation tools, add comments, undo or redo an action, print or download the assignment, search the document, access the content library (to add and re-use comments).
- Click on the blue strip with the arrow to reveal the marking rubric and feedback to learner comments box.
- Click in the mark field to enter your mark for the assignment. (Clicking in this field will also expand the section which includes the marking rubric and feedback to learner comments box).
Adding and saving feedback
Below we’ll take a quick look how to access and save feedback via a rubric and the feedback to learner text box. Check out the further resources section for information on how to add inline feedback comments, attach feedback files and add video / audio comments.
Entering feedback and marks
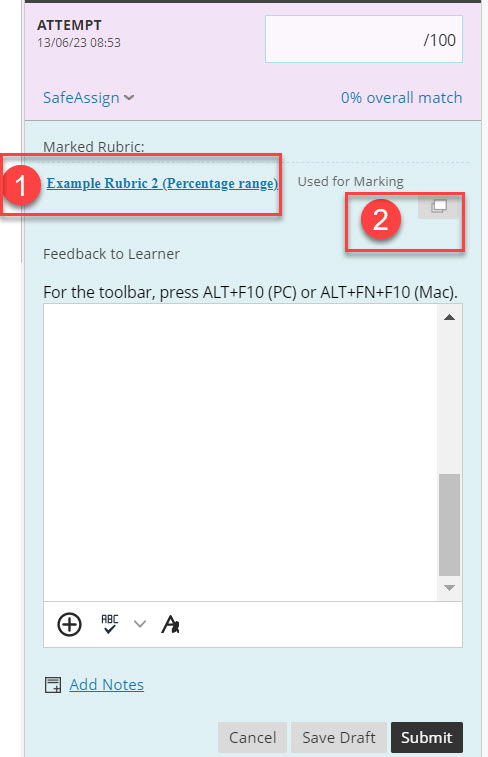
- Enter your overall feedback comments in the Feedback to Learner text box. To reveal the text box click on the mark field in the main marking panel.
- Note: If you choose Save draft after entering comments you will return to the main Gradecentre.
- Important: Ensure that you choose Submit after entering your comments to save them, so that these comments will be visible to students once marks and feedback are released.

Rubrics
To access a marking rubric (if one has been used), either click into the mark field (as described above) or on the blue strip.
You can open the rubric:
- In the same pane, by clicking on the hyperlink under Marked Rubric.
- In a new window by clicking on the icon next to Used for Marking.
We recommend you try both options, to see which view you prefer.
- Add your marks to the rubric by either clicking the radio buttons or in the appropriate rubric cell (depending on your preferred view).
- Note: We recommend that you do not use the feedback fields within the rubric (as students may not see this feedback). Instead use the Feedback to Learner box (see steps above).

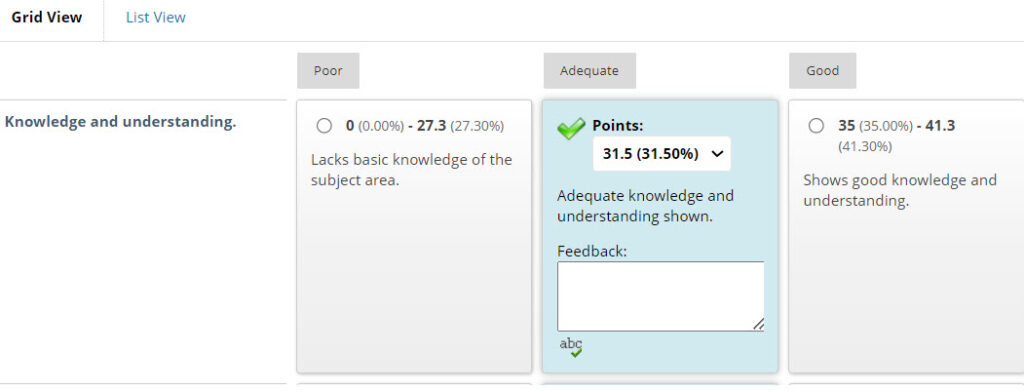
- Important: Don’t forgot to scroll to the bottom of the rubric and Save Rubric or Save to apply the changes before closing the rubric. (If you exit the rubric without choosing saving, changes will be lost).
What happens next?
If the assignment has been marked by a single marker, the unit leader and support staff will liaise to decide when and how to release marks to students.
If delegated marking is in use, an additional step (reconciliation) is required to reach an agreed grade before marks are released. Most staff will be either a first marker or second marker only and will not be involved in the reconciliation process. If you do need to reconcile marks, check out our reconciling marks guidance.