This guide will take you through the steps to add a Buddycheck link to your Canvas course menu so that you can easily access the Buddycheck interface to create and manage evaluations.

This process must be followed for each of your Canvas courses. Adding the Buddycheck link for one course does not apply the link to other courses.
What is Buddycheck?
Buddycheck allows group members who have completed and submitted a piece of group work to review and score each member (including themselves) by answering a number of questions based on 5 categories. Once students complete their peer scoring task, the results can be used to adjust individual marks in the Canvas Gradebook.
How do I add a Buddycheck link to my Canvas Course Menu?
There are several ways to add Buddycheck to Canvas, but the only method that currently works correctly is to add Buddycheck via the course navigation menu.

Do not add Buddycheck to your course via the assignments menu or the external tools menu.
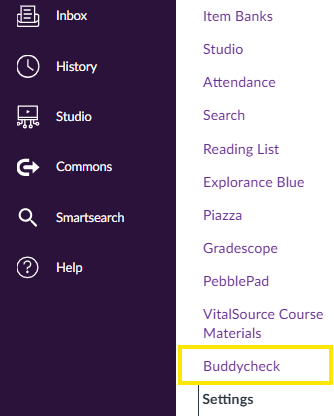
To add Buddycheck to your Canvas course menu, first check if it’s already listed. If it’s missing, you’ll need to add it.
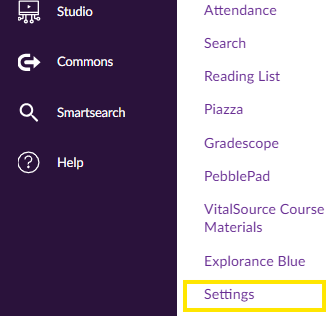
Select Settings from the bottom of the course menu.
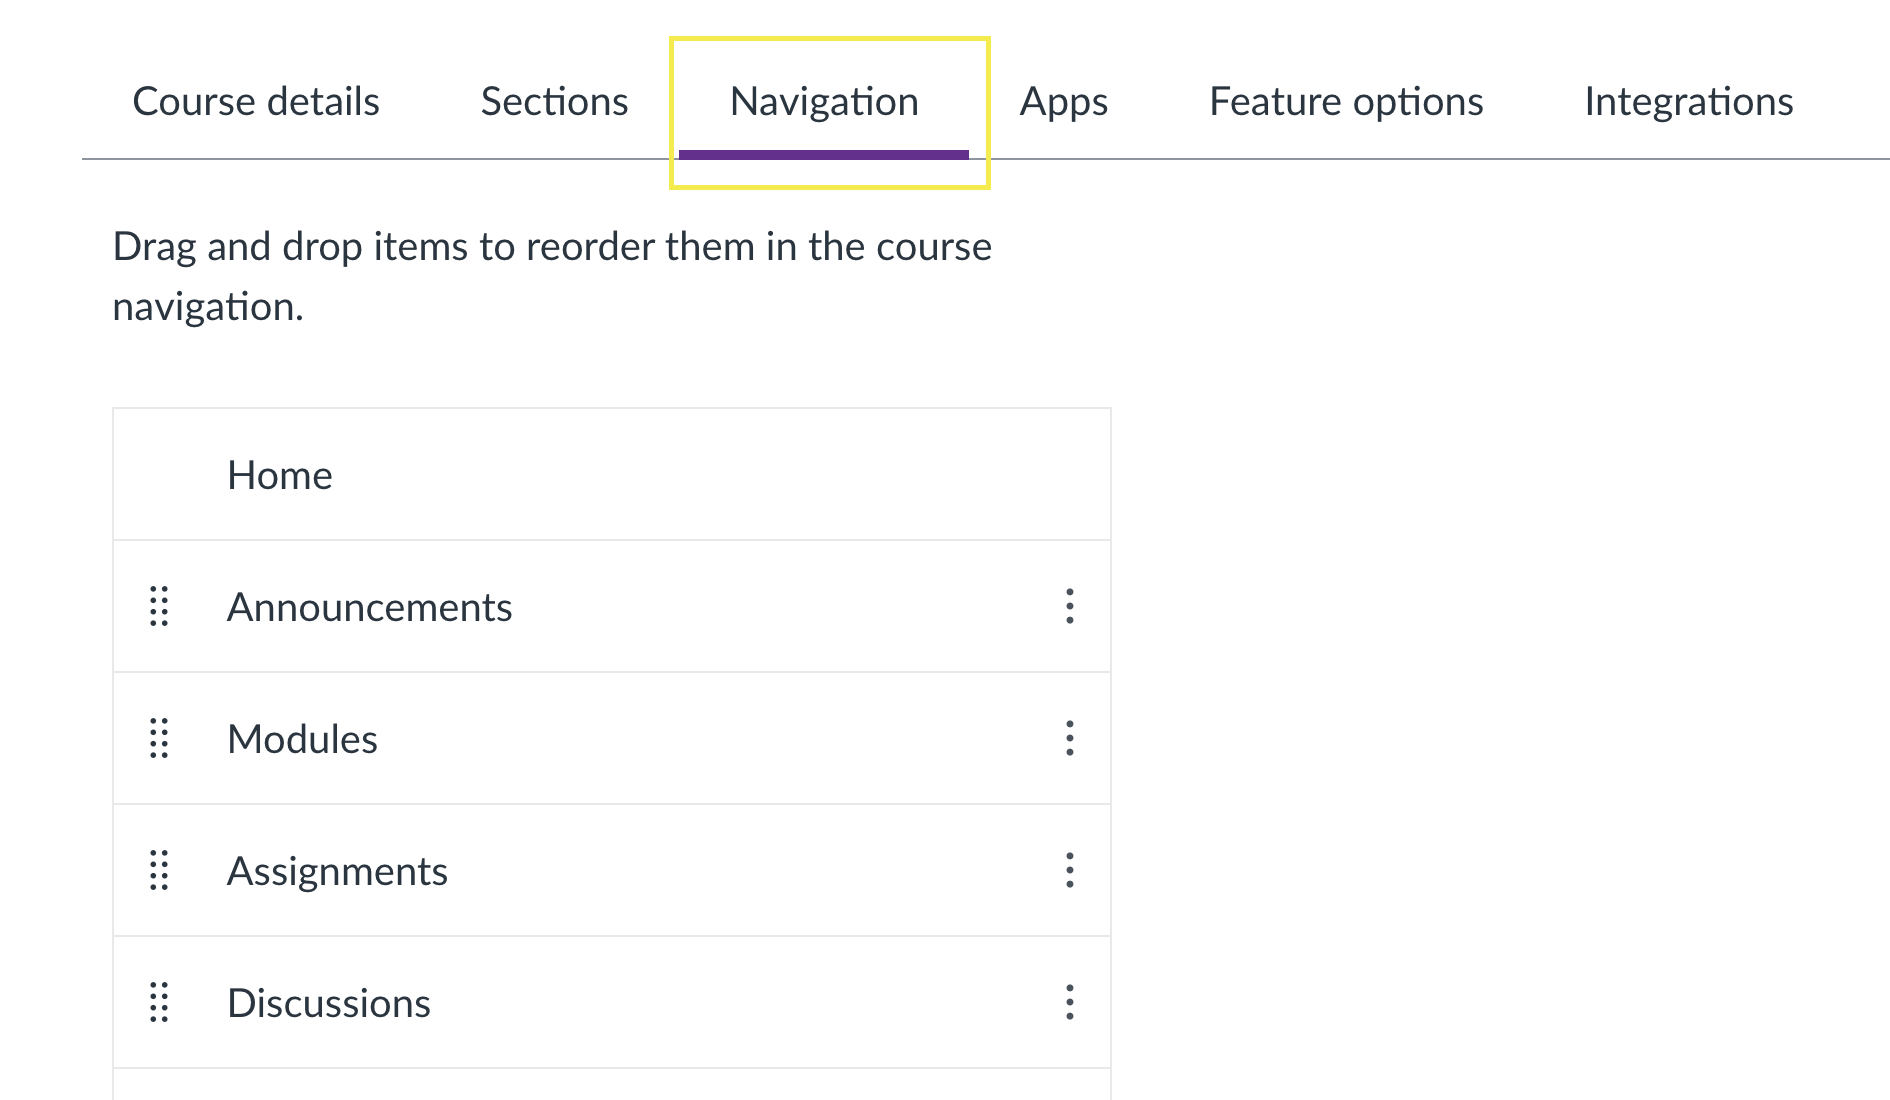
Select the Navigation tab at the top. The Navigation settings page allows you to enable/disable course menu items to show/hide them from student view. You can also re-order menu items by dragging and dropping them into the desired position.
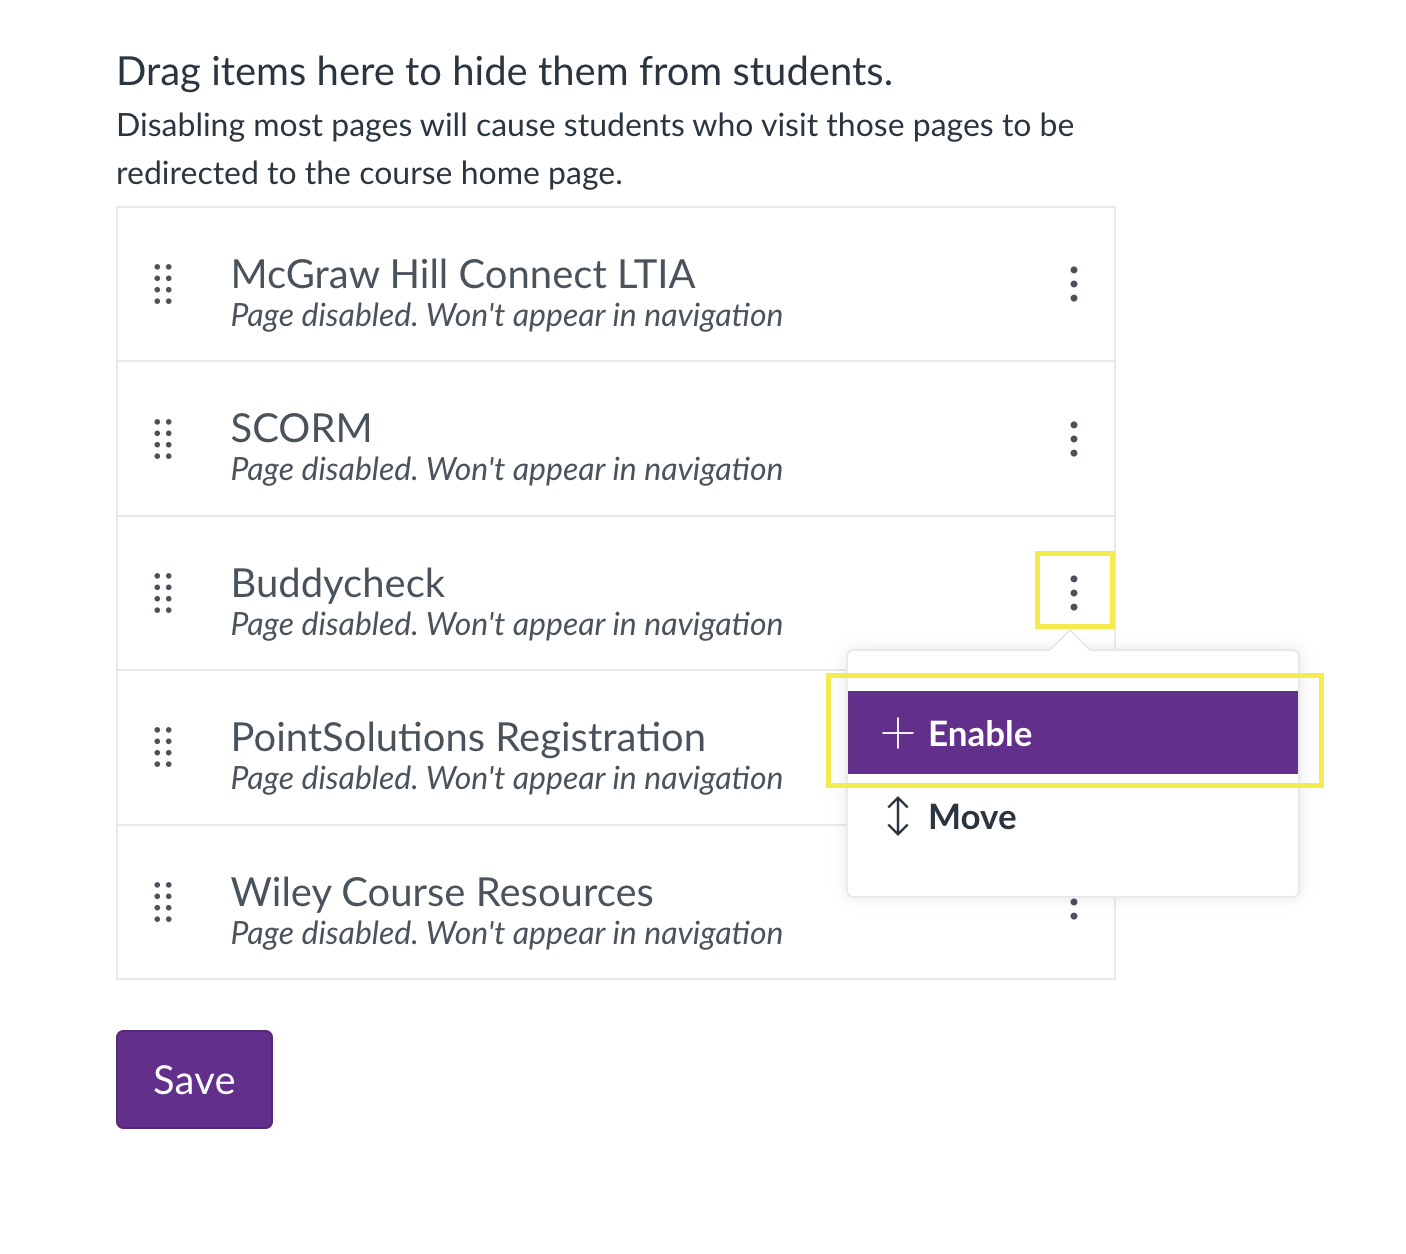
On the Navigation page, locate the Buddycheck item.
Click the three-dot icon to the right of the Buddycheck item and select Enable. Alternatively, you can select the 8-dot icon and drag and drop the item into the active course menu items area.
In the example below, Buddycheck has been enabled. That means, it has been moved out of the hidden menu items area and positioned within the active course menu items area.
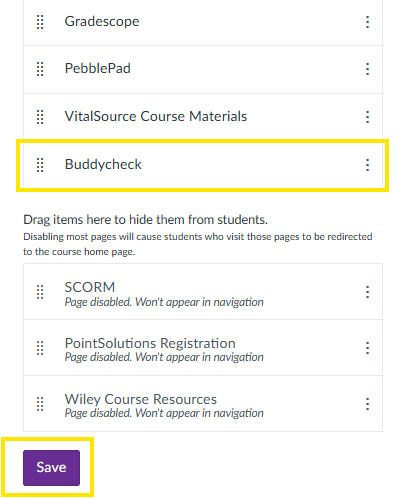
When you are happy with the position of your Buddycheck menu item, click Save to save you amendments. You should now see a Buddycheck link in your Course Menu.
Activating Buddycheck
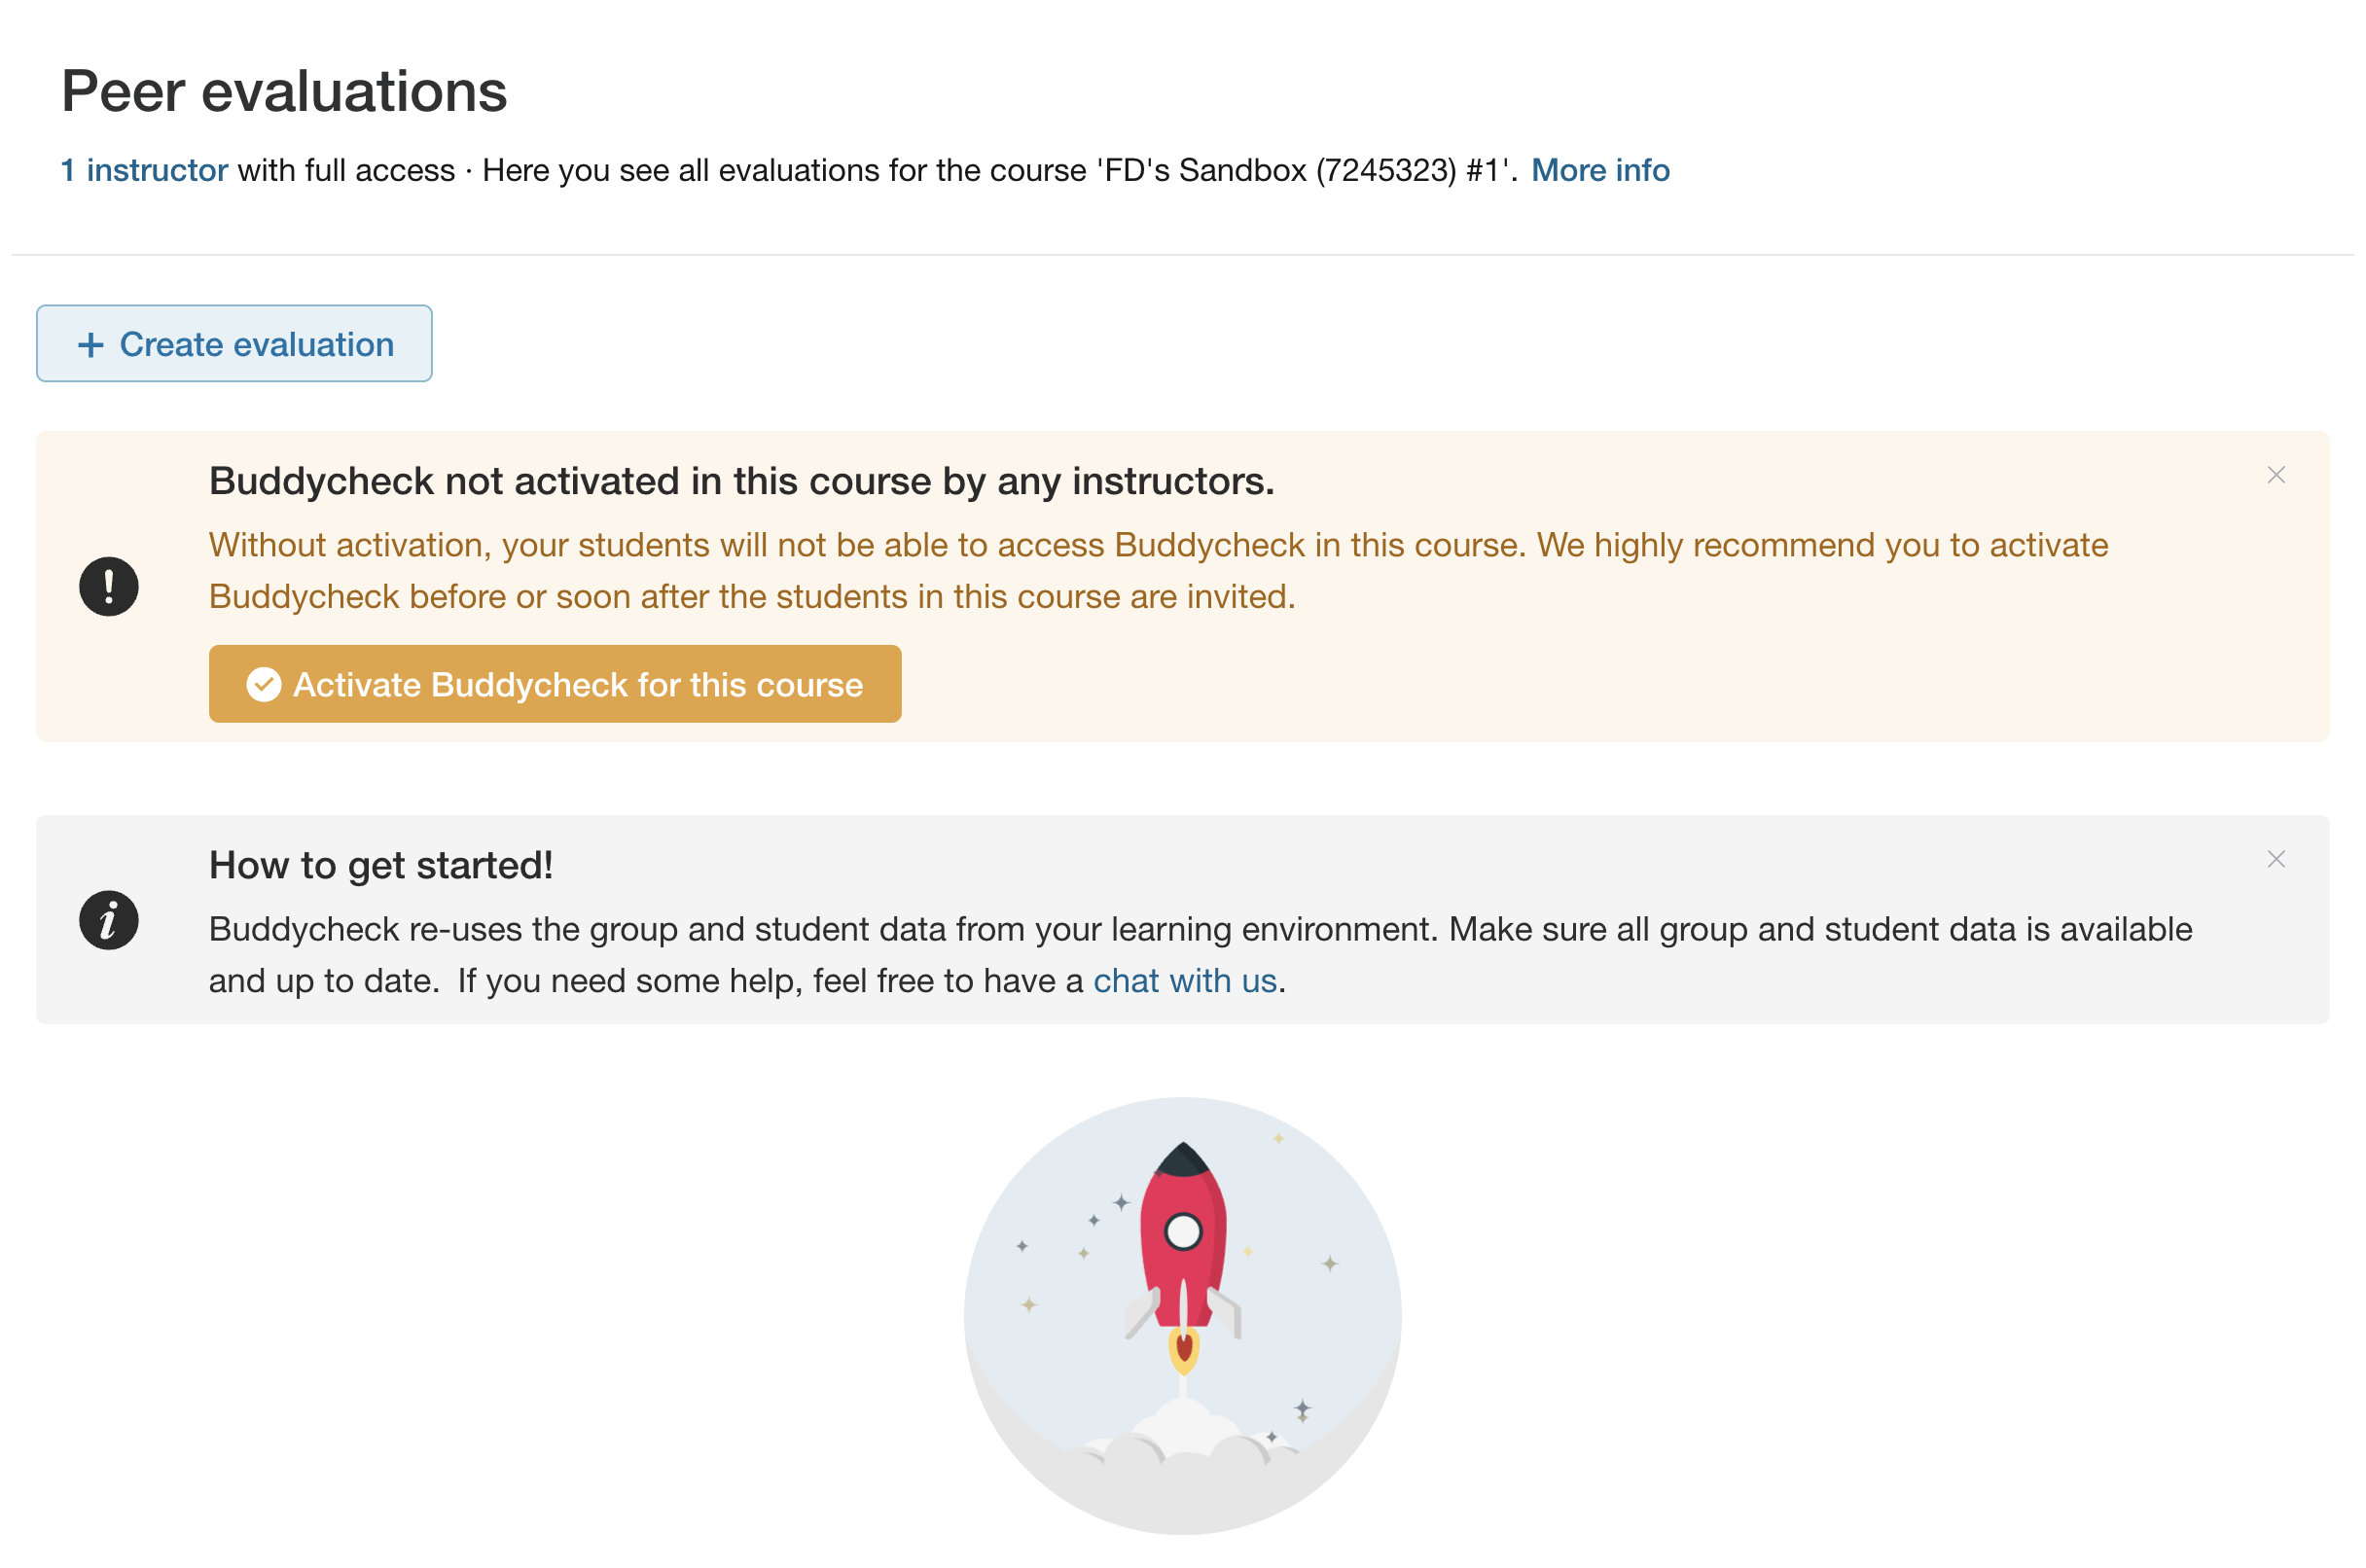
If this is the first time using Buddycheck for this course in Canvas, you will need to click on the Activate Buddycheck for this course link, as shown below.
Start creating your evaluations
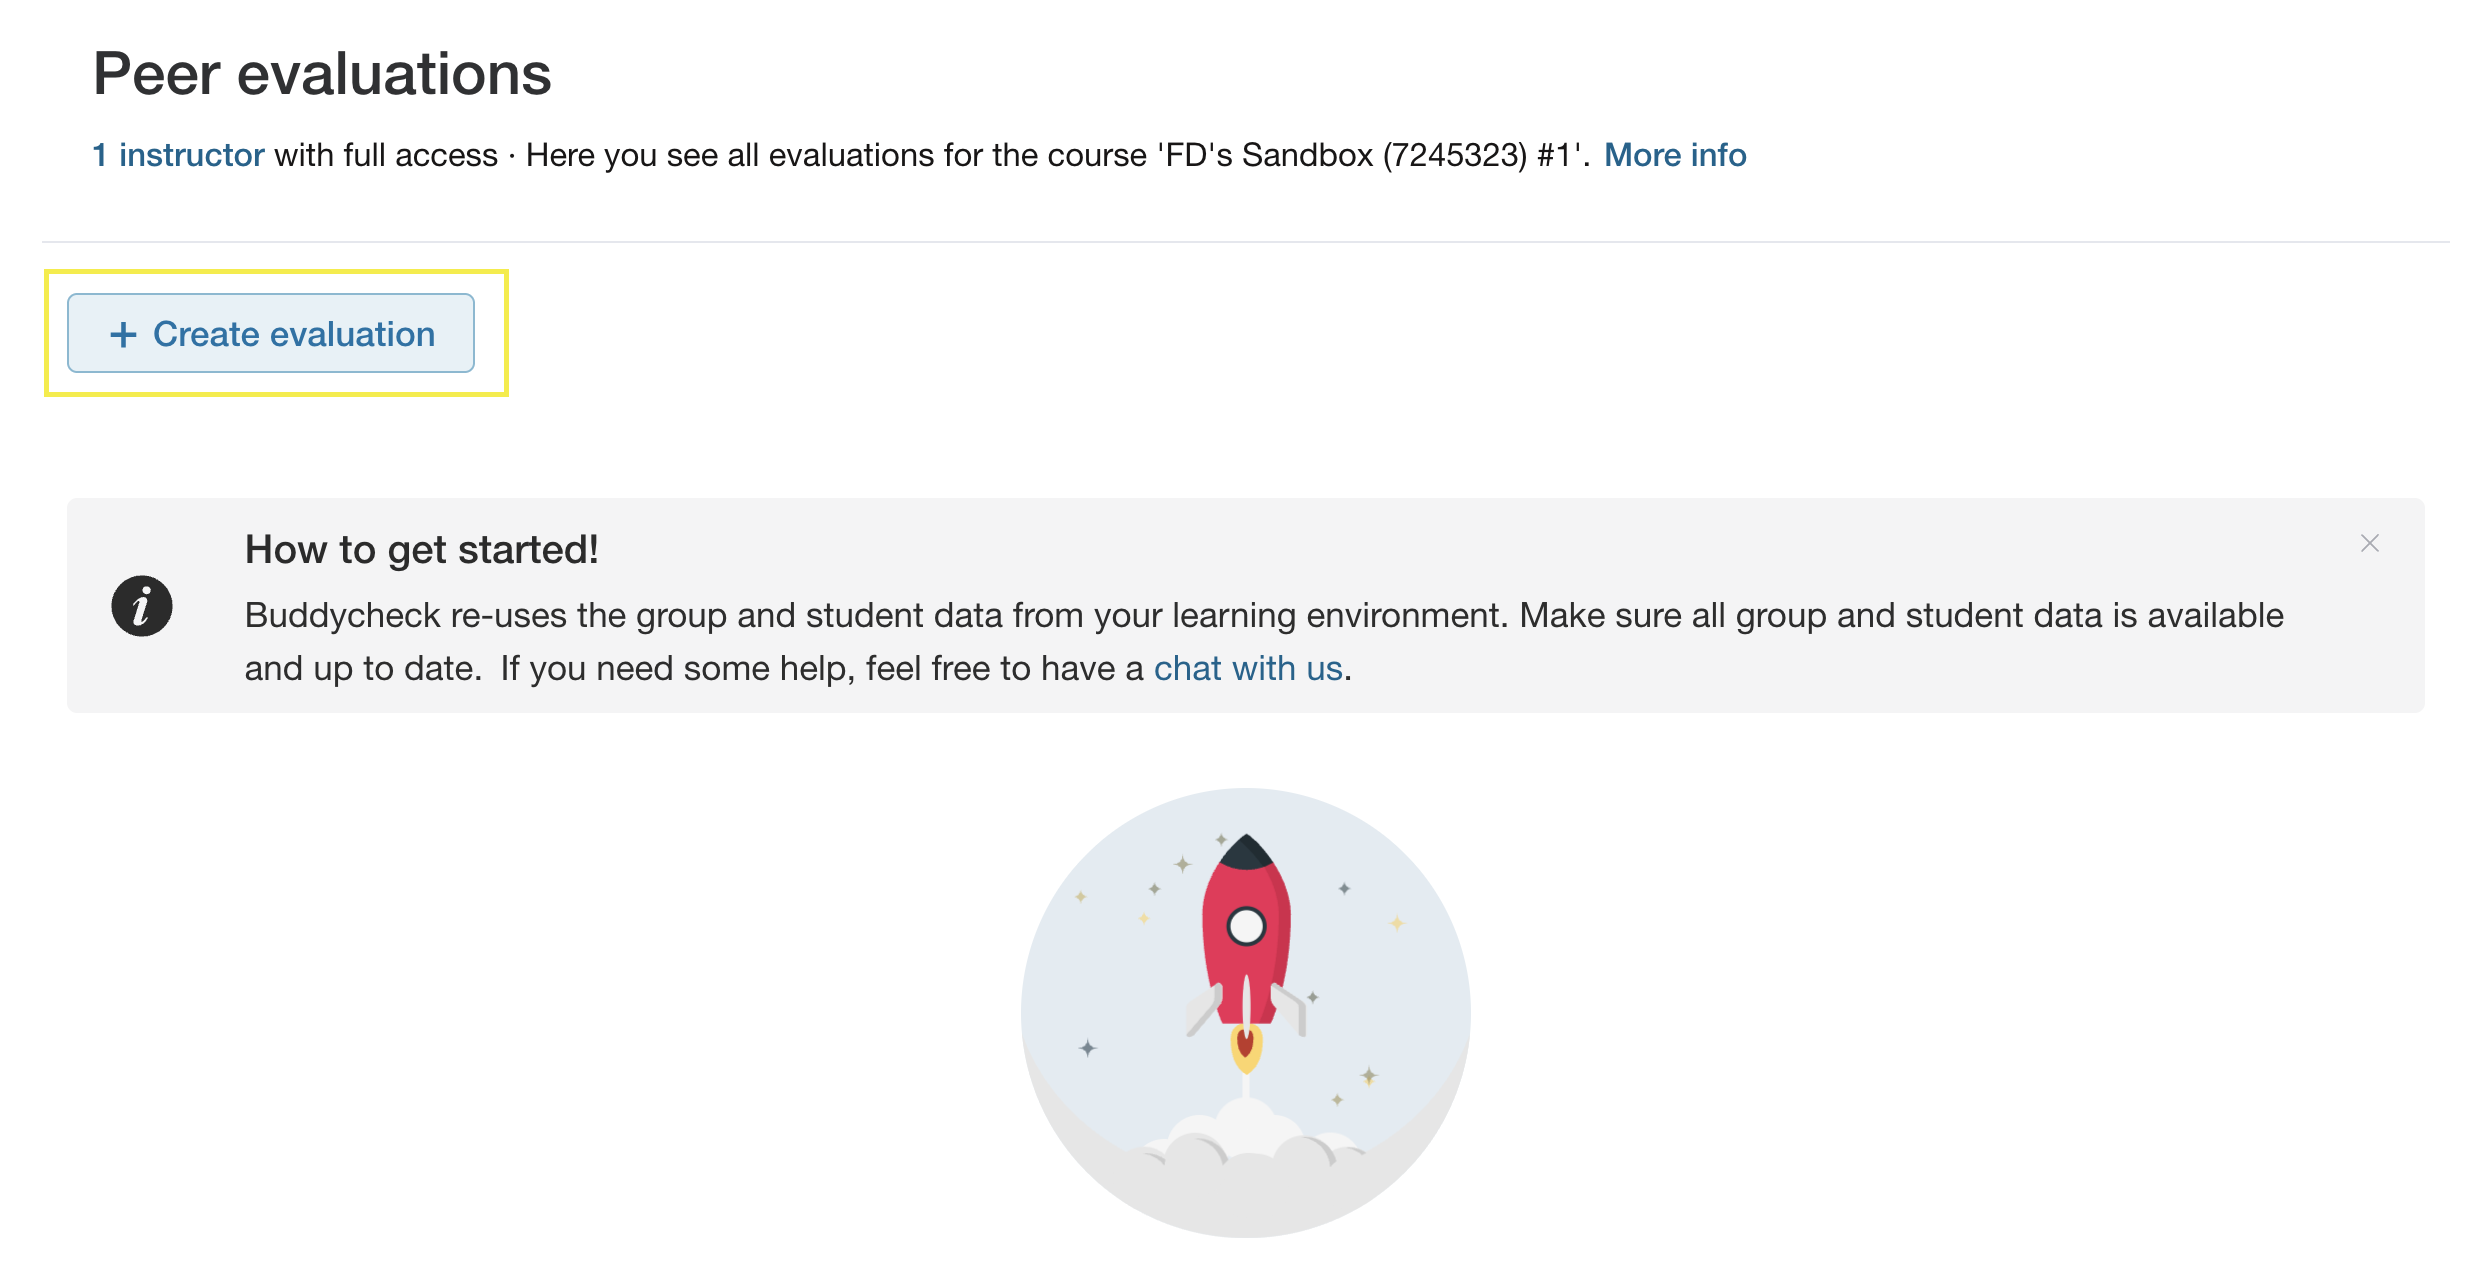
To begin creating your evaluations click on the + Create evaluation button.
How do students access Buddycheck from a Canvas course?
Students access Buddycheck within a Canvas course by clicking on the Buddycheck link within the course menu.
Buddycheck peer evaluations cannot be added directly to Canvas Modules, but can be embedded into Canvas Pages. Please ensure that you provide guidance to students on how they access Buddycheck, as it differs from how they access assignments and quizzes.
The Buddycheck link appears on the left-hand side, within the course menu.
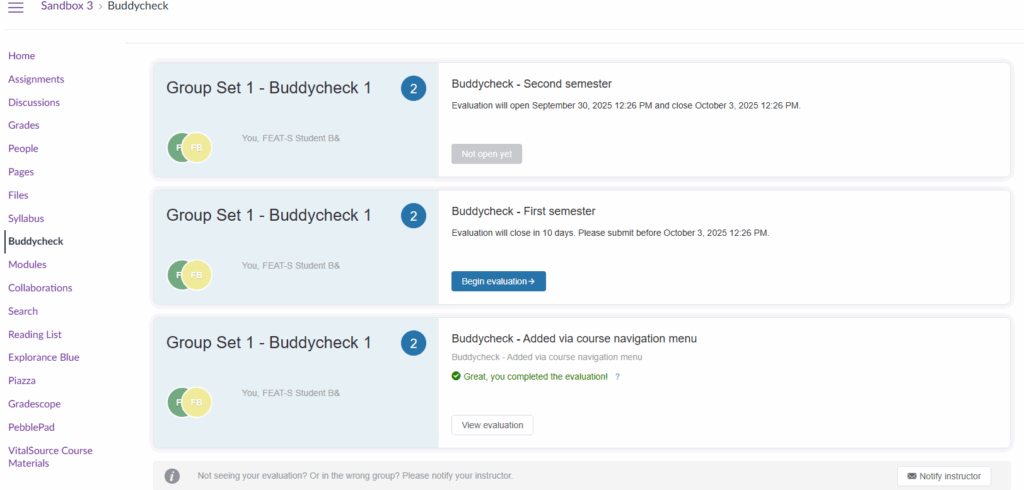
Upon clicking the Buddycheck link, students will be presented with a list of Buddycheck peer evaluations associated with the course.
Embedding Buddycheck in a Canvas Page
To help your students access Buddycheck, you can add a link to the Buddycheck area within a Canvas Page, and add this page to a Module.
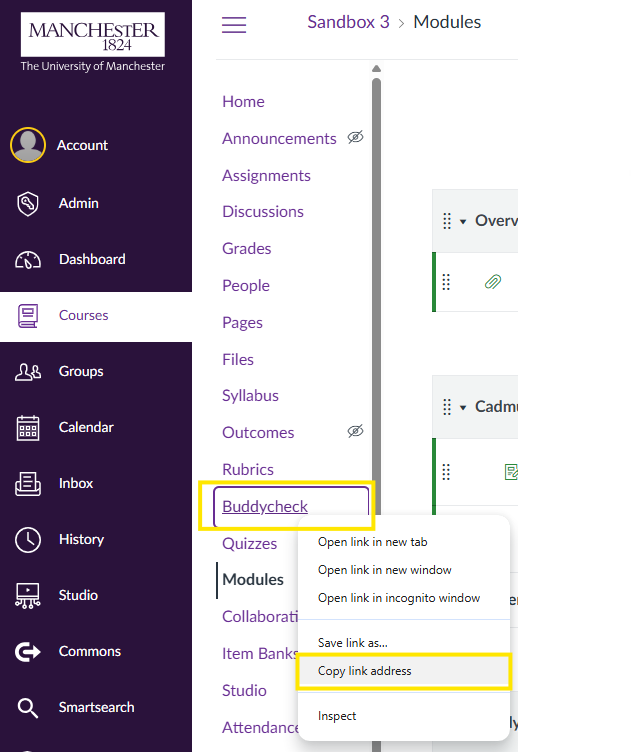
To do this, right click on the Buddycheck course link, and select Copy link address.
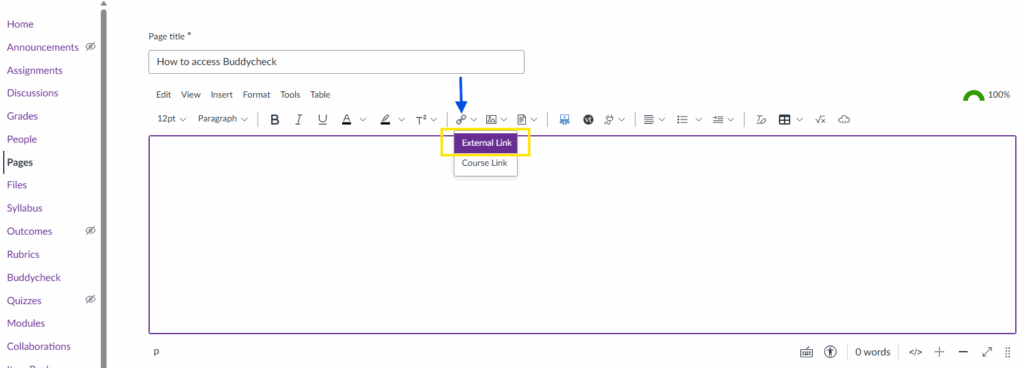
Go to an existing Canvas page, or create a new one. Within the page editor interface, select the Links icon, and then click External Link.
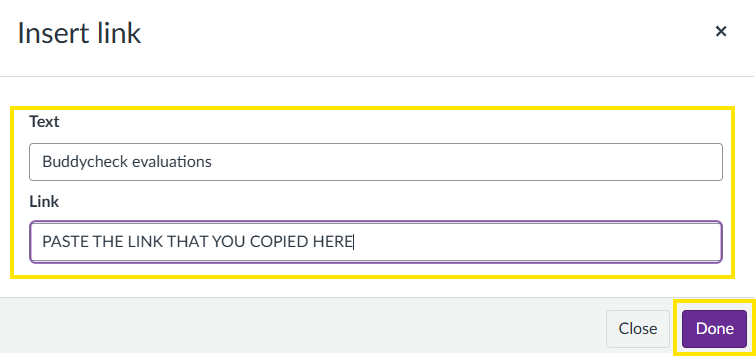
In the pop-up box that appears, give your link a name, paste the Buddycheck link that you copied, click ‘Done’ to embed the link.
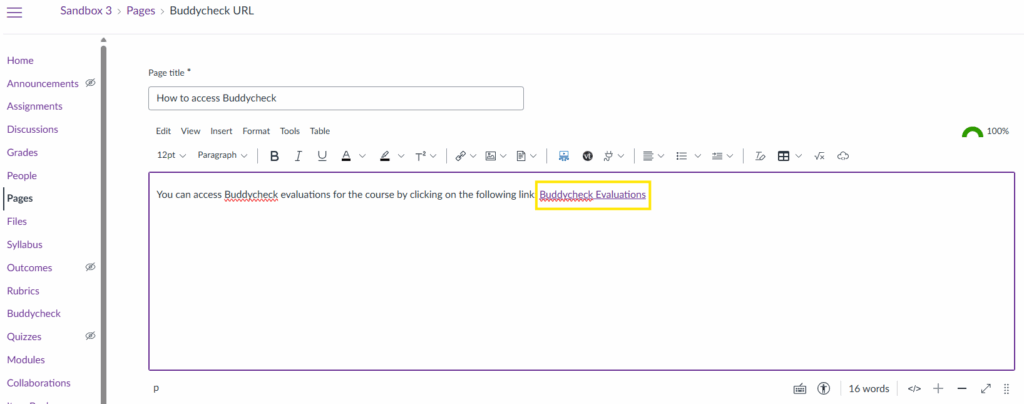
You should now have a Buddycheck link within your Canvas page. You may wish to add some supporting or guidance text to add some context to the link. Remember to click on Save to save the changes that you have made to your Canvas page.
Further Support
For detailed guidance on managing evaluations, monitoring progress and releasing results, visit this page: BuddyCheck: Get Started.