There are several ways you can present HTML files within Canvas. This is a suggested workflow for Course Units where the majority of the content is HTML.
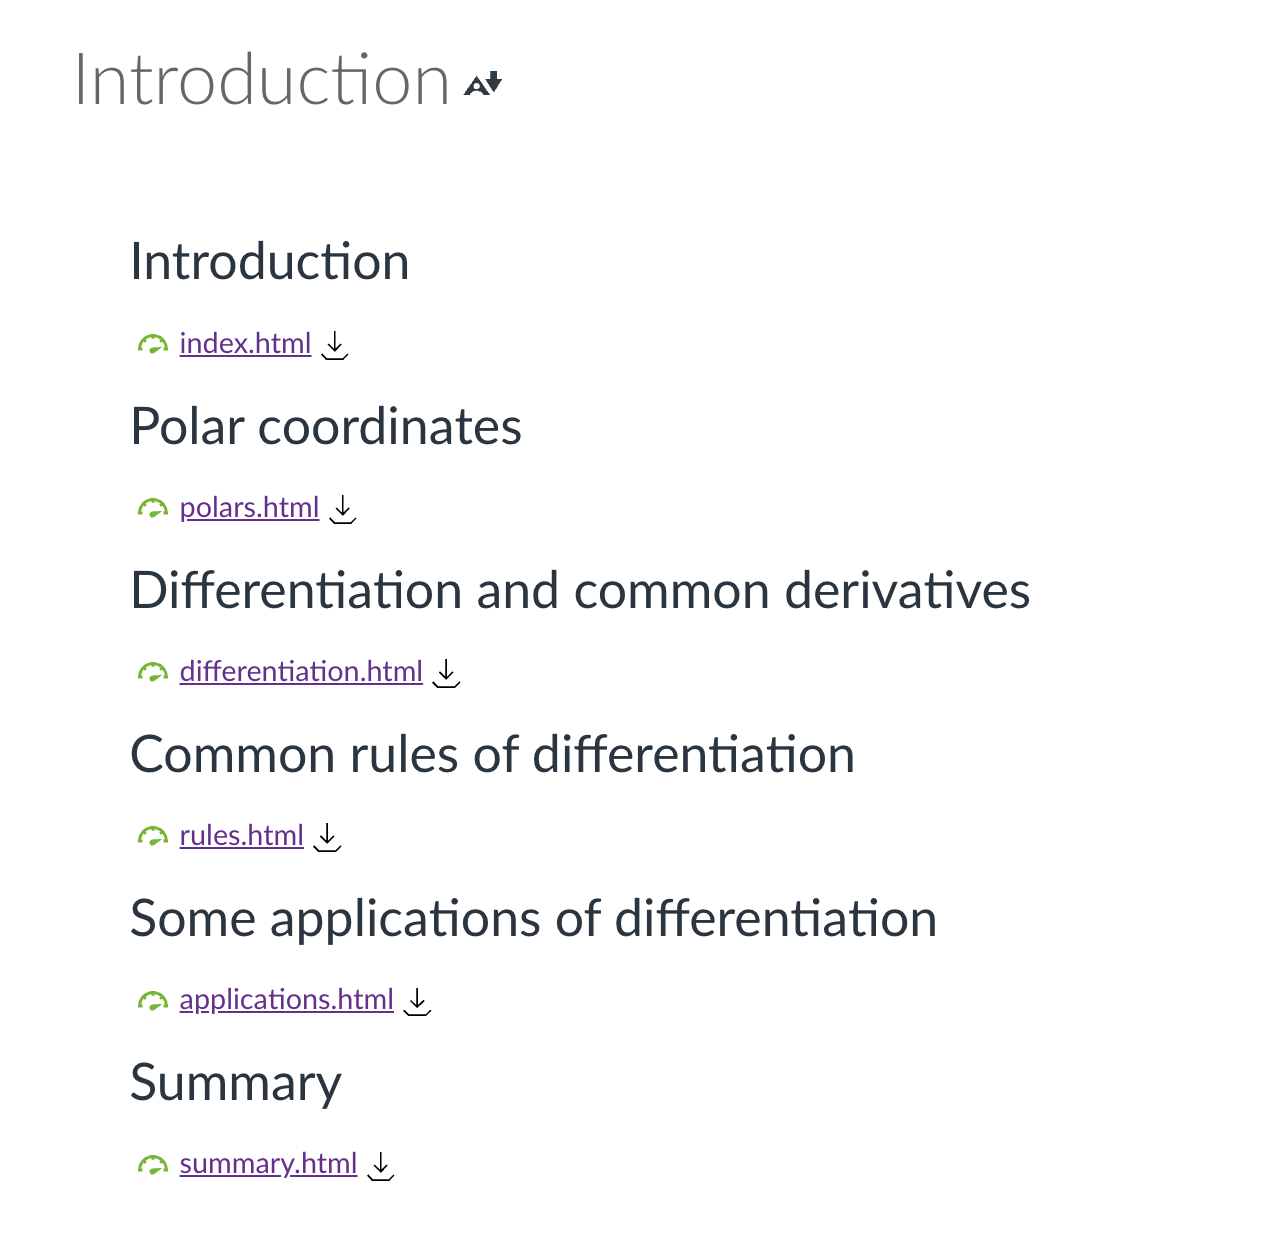
It’s likely that the migration from Blackboard to Canvas will have ‘smushed’ the links to HTML files into a single Canvas page. Rather than have the HTML files only accessible from within a page, it’s better to have them as part of a Module so students can clearly see the amount of content to work through. This guide will walk you through how to convert the HTML files to be displayed embedded in individual pages.

To work through this guide successfully, it’s recommended you log into Canvas and access your course unit. Have this guide open and accessible. Have the Files section of your Canvas unit open in a separate browser tab as you will be referring to this area consistently as you progress through the build.

Migrated HTML files containing LaTeX may not render the LaTeX initially, depending on how they have been created. However, once the HTML files have been embedded into a page, as per the guide below, LaTeX content should render correctly.
Step 1: Copy all your HTML content from the BB_Migration Space to the Teaching Space
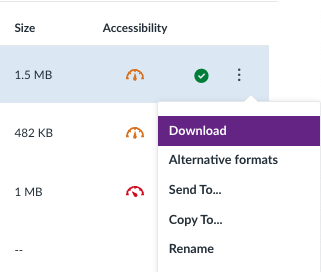
Before you start the rebuild you will need to copy ALL of the HTL content – INCLUDING any reference files – images, CSS and any scripts. The simplest way to do this is to access the File area of your BB_Migration space find the folder that contains all this information and download it as a Zip file (click on three dots next to the folder and select Download).
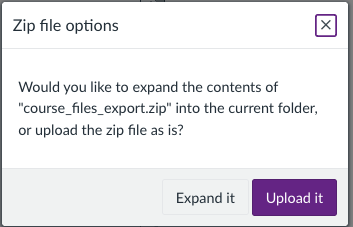
Then upload the Zip file into the Files section of your Teaching space. You will be asked whether you which to Unpack the file you must select this option. You will now have created a full copy of all your HTML, CSS and scripts relevant to this content.
Step 2: Create Pages for HTML files
Follow the steps below to create a Module and Page for HTML files.
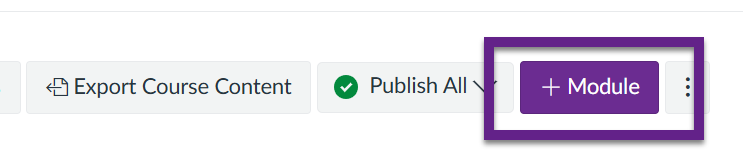
- Using the purple ‘+ Module‘ button at the top of the page, create a new module. Most course units are delivered in a weekly format and so we will create a Module called ‘Week 1: Appropriate title’.
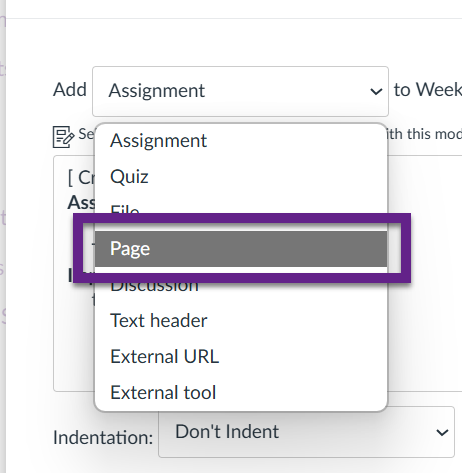
2. In the newly created Module, select the ‘+‘ icon.
3. Choose ‘Page‘ from the drop-down menu, select ‘[ Create Page ]’, add in an appropriate title, and choose ‘Add item‘.

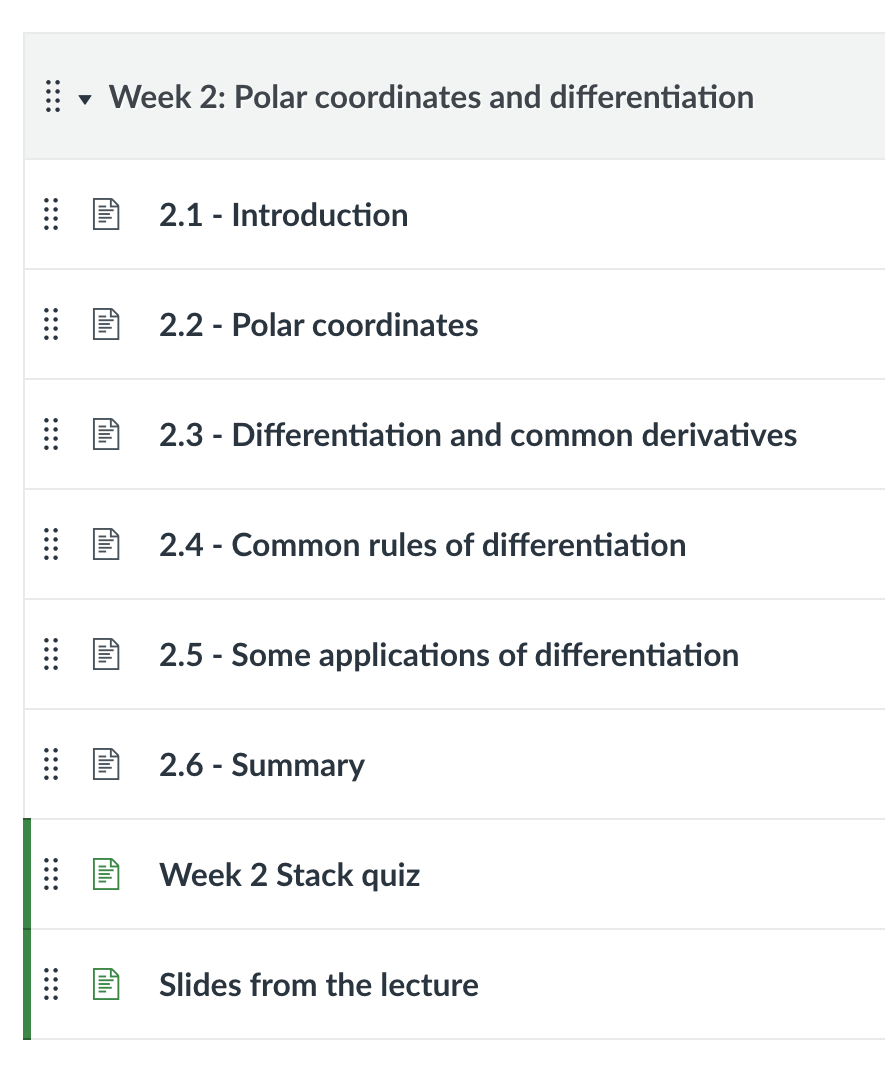
In this example each Page title has been prefixed with weekNumber.itemNumber …(e.g. 2.1 for 1st item in Week 2). Doing this prevents the creation of lots of pages with the same name in the back end of Canvas, useful should you need to differentiate between them later on.
Step 3: Edit an HTML Page
Follow the steps below to create and edit your HTML page so it displays correctly.
- Access the Page you created in your new Module from Step 1 above and select the ‘Edit‘ button.

2. This will take you to The Rich Content Editor (RCE). The RCE allows you to input text and media into the page but for this task we need to add some HTML code, so, switch the editor into HTML view by selecting the ‘</>‘ button at the bottom.

3. Paste the below code in the stub of the iFrame content.
<p><iframe src="" width="100%" height="1000" ></iframe></p>
The width is scalable, you can modify the height to suit. If your HTML page is longer than 1000px, a scroll bar will be created.
4. Navigate to the Files section in the course navigation menu (which should already be open in a separate browser tab) and find your HTML file.
5. Once located, open the file within the Canvas File preview, hover over the download option (down arrow) and copy link Address
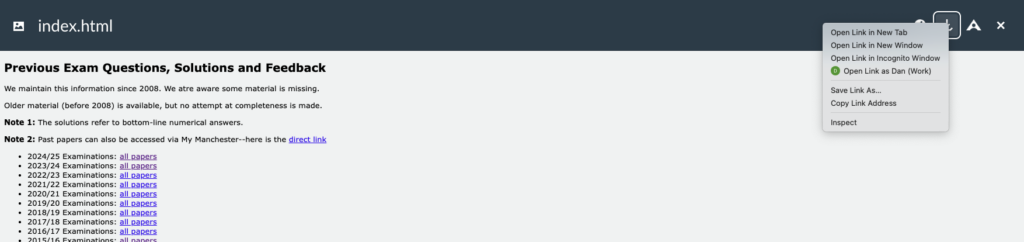
6. Paste the address inside the quotation marks of the src=”” of the stub iFrame code, then delete everything after the ‘?‘, (but leave the ‘?‘)
E.g.:
<p><iframe src=”https://canvas.manchester.ac.uk/files/xxxxxxx/download?download_frd=1” width=”100%” height=”1000″ ></iframe></p>
Becomes:
<p><iframe src=”https://canvas.manchester.ac.uk/files/xxxxxxx/download?” width=”100%” height=”1000″ ></iframe></p>
7. Select ‘Save‘ or ‘Save and Publish‘.
You have now embedded the HTML file into a Canvas Page. You can repeat the steps in this section to edit the other Pages.
PLEASE NOTE: Subsequent updates to Canvas may change how this works, if so please contact the eLearning team for advise!
Update HTML Files
If you need to update your HTML content, you need to ensure you upload the file with the exact same name as the file you wish to replace. This will generate a ‘Replace’ prompt, which will overwrite the HTML file and preserve the URL used within the iFrame.
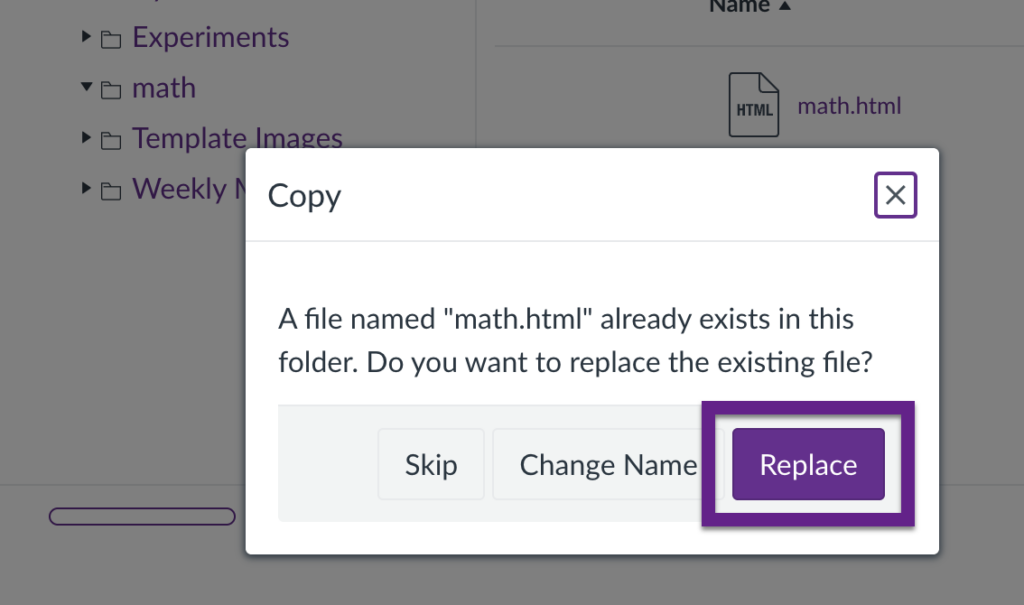
If you do not replace the file, it will add your HTML file as an additional version with a separate URL and you would need to update the iFrame.