If you would like to offer students on your course the opportunity to book a slot to meet, or a slot to attend an in-person drop-in, the appointment group feature is there to facilitate this.
Introduction
While the Canvas Calendar primarily allows users to view upcoming assignments, due dates, and events across their courses, it also includes a useful feature for instructors: appointment groups. This tool lets you create blocks of time where students can book individual or group appointments — ideal for office hours, drop-ins, tutorials, or similar sessions. Once the appointment group is created, students can sign up for available time slots directly from their personal Canvas calendar.
Creating an Appointment Group
To get started, navigate to your Calendar using the purple Global Navigation Menu.
Ensure your desired course calendar is enabled by checking the box next to its name in the calendar list. In this example, we’re using the FSE Demo and Training Hub course. When selected, the calendar will display in your assigned colour.


To create an appointment group:
- Click on any date in the calendar or select the ➕ (Add) icon.
2. This will bring up the Edit Event box. Choose the Appointment Group tab to access the following options.
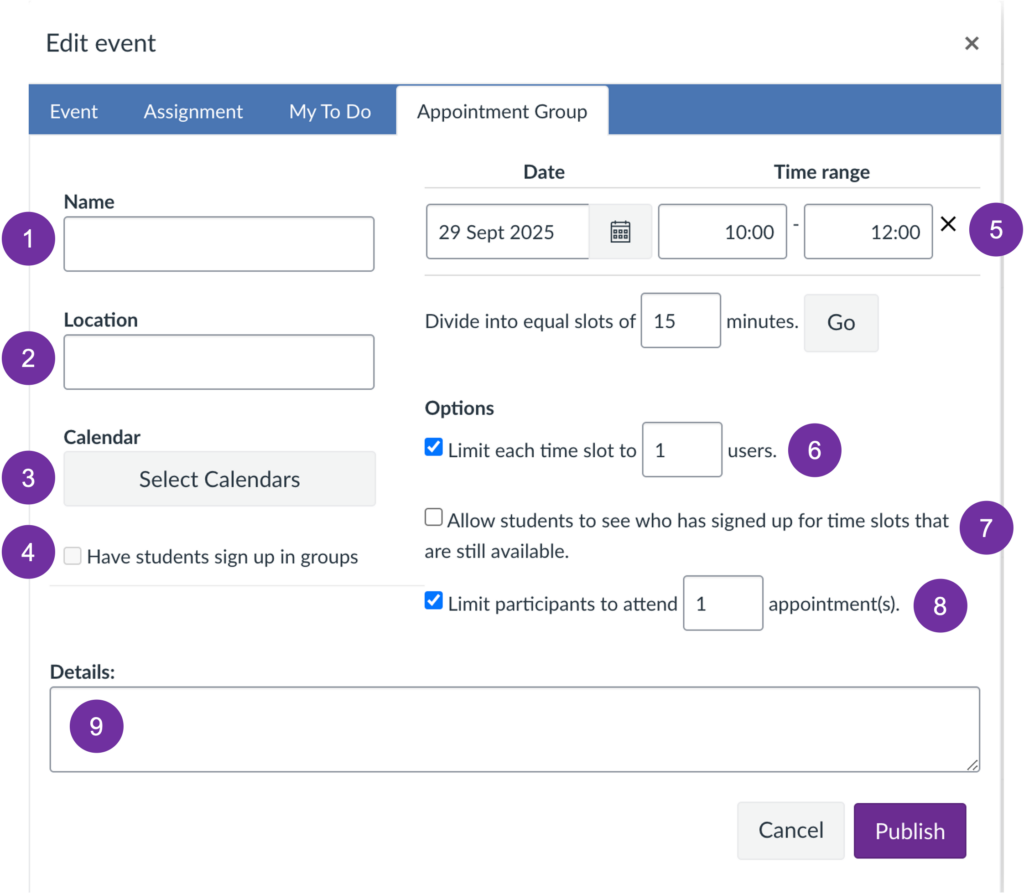
- Name – Enter a clear, descriptive name for the appointment group (e.g., Week 3 Tutorials).
- Location – Specify where the appointments will take place, whether in person (e.g., Room 2.14) or online (e.g., MS Teams link).
- Calendar – Choose the course calendar to which this appointment group belongs. This determines which students will be able to view and sign up.
- Groups – If your course uses Canvas groups, you can allow students to sign up as a group rather than individually. All members will share the same appointment slot.
- Date and time range – Set the date(s) and time range(s) during which appointments will be available. Use the “Divide into equal slots of” field to split the time range into individual appointments.
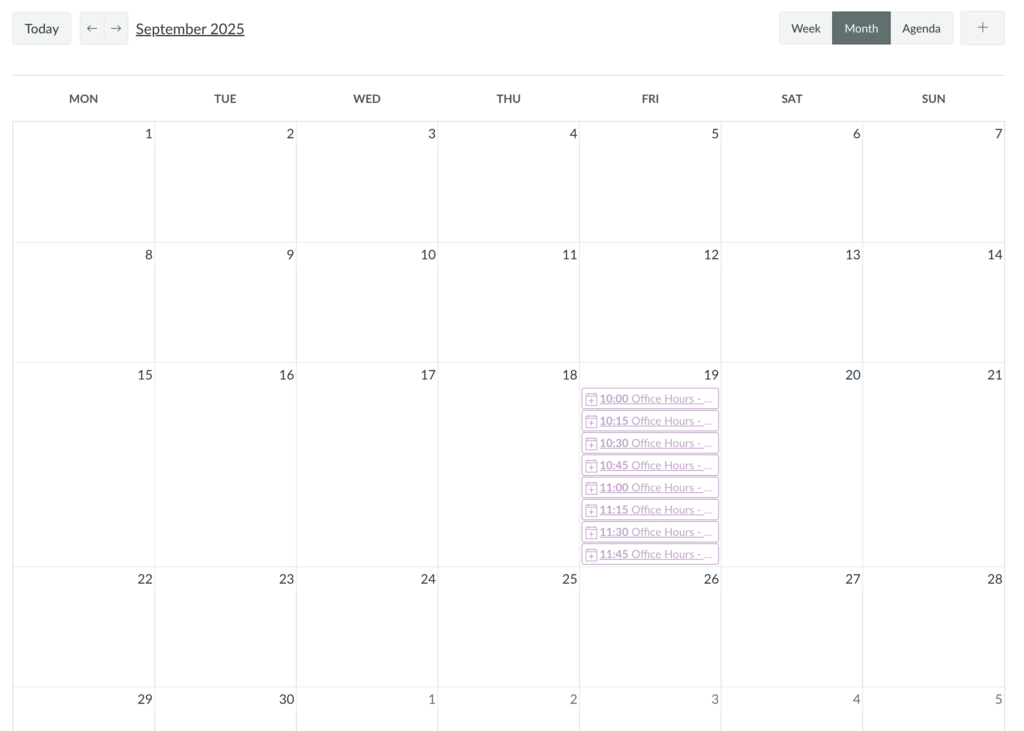
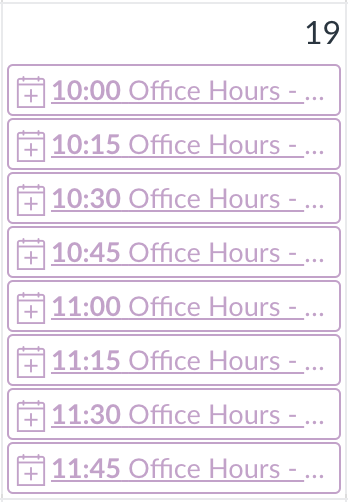
For example: dividing 10:00am–12:00pm into 15-minute slots creates 8 separate appointments. - User limit – set the number of students (or groups, if using group sign-up) allowed per appointment slot.
- Slot visibility – Enable this option if you want students to see who has already signed up for each time slot before it is full.
- Appointment limit – Set the maximum number of appointments each student (or group) can book within this appointment group.
- Details – This may include a brief description of the session’s purpose or, for online meetings, a Microsoft Teams link for students to join.

For a more detailed walkthrough of these options, see the official guidance provided by Canvas: How do I add an appointment group in a course calendar?
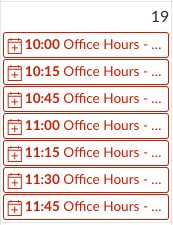
Once your settings have been finalised, choose Publish to publish your appointment groups to the calendar. From this point, students will be able to view available time slots and book their appointments.
Once a student books an appointment, the time slot will appear as a solid colour in your calendar, indicating it is taken, along with a check mark.

Viewing and Editing the Appointment Group
To view the details of a specific appointment slot, click on any individual appointment within the group. If a student has already signed up, their name will be displayed in the slot details.
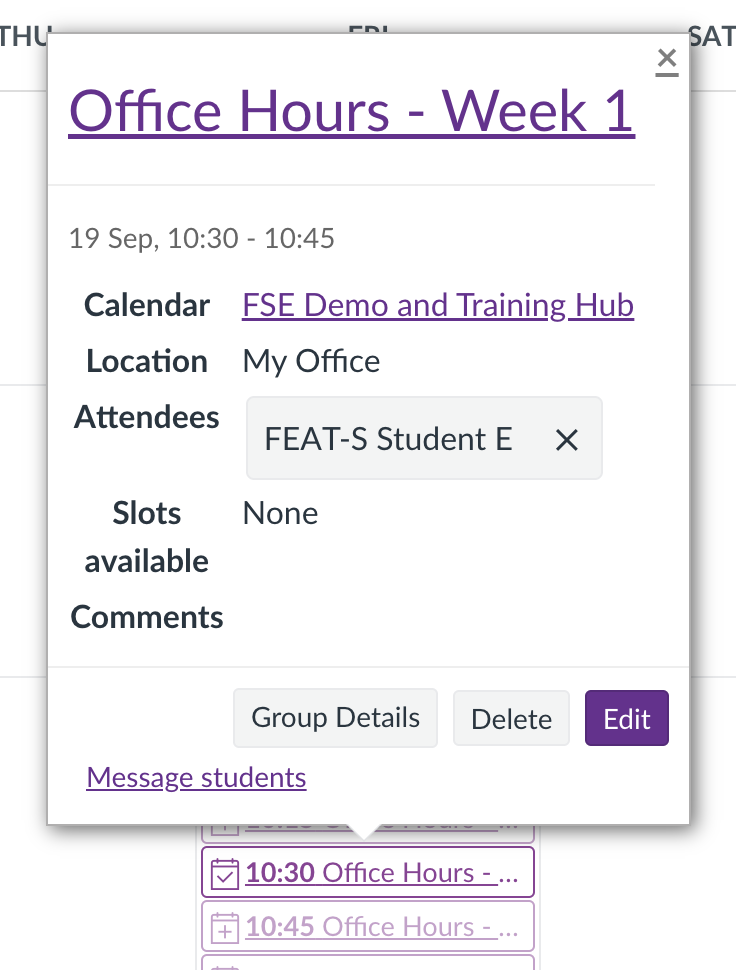
Clicking the edit icon lets you add a description to the appointment slot, which will be visible to students when they view the slot details.
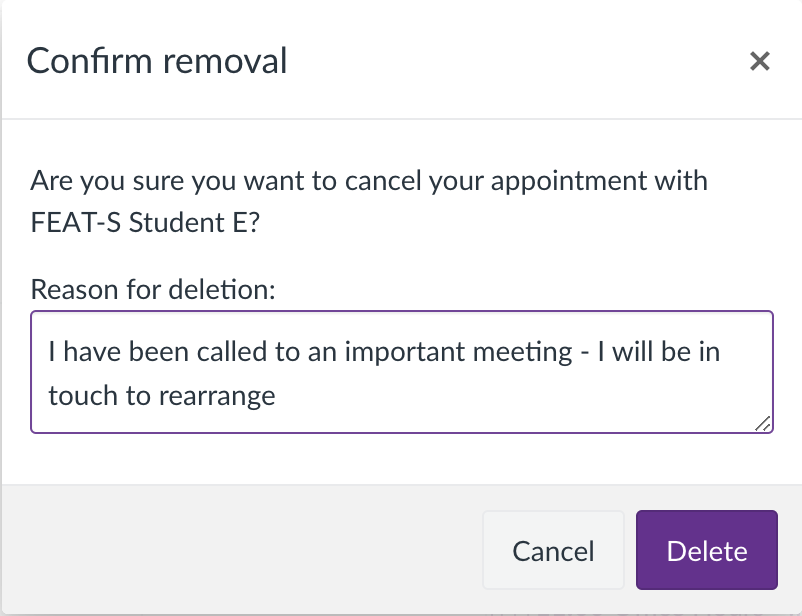
If you need to cancel a booked appointment slot, click the X next to the student’s name. A Confirm removal box will appear, allowing you to provide a reason for the cancellation. To finalise the removal, click Delete.
Editing the Entire Appointment Group
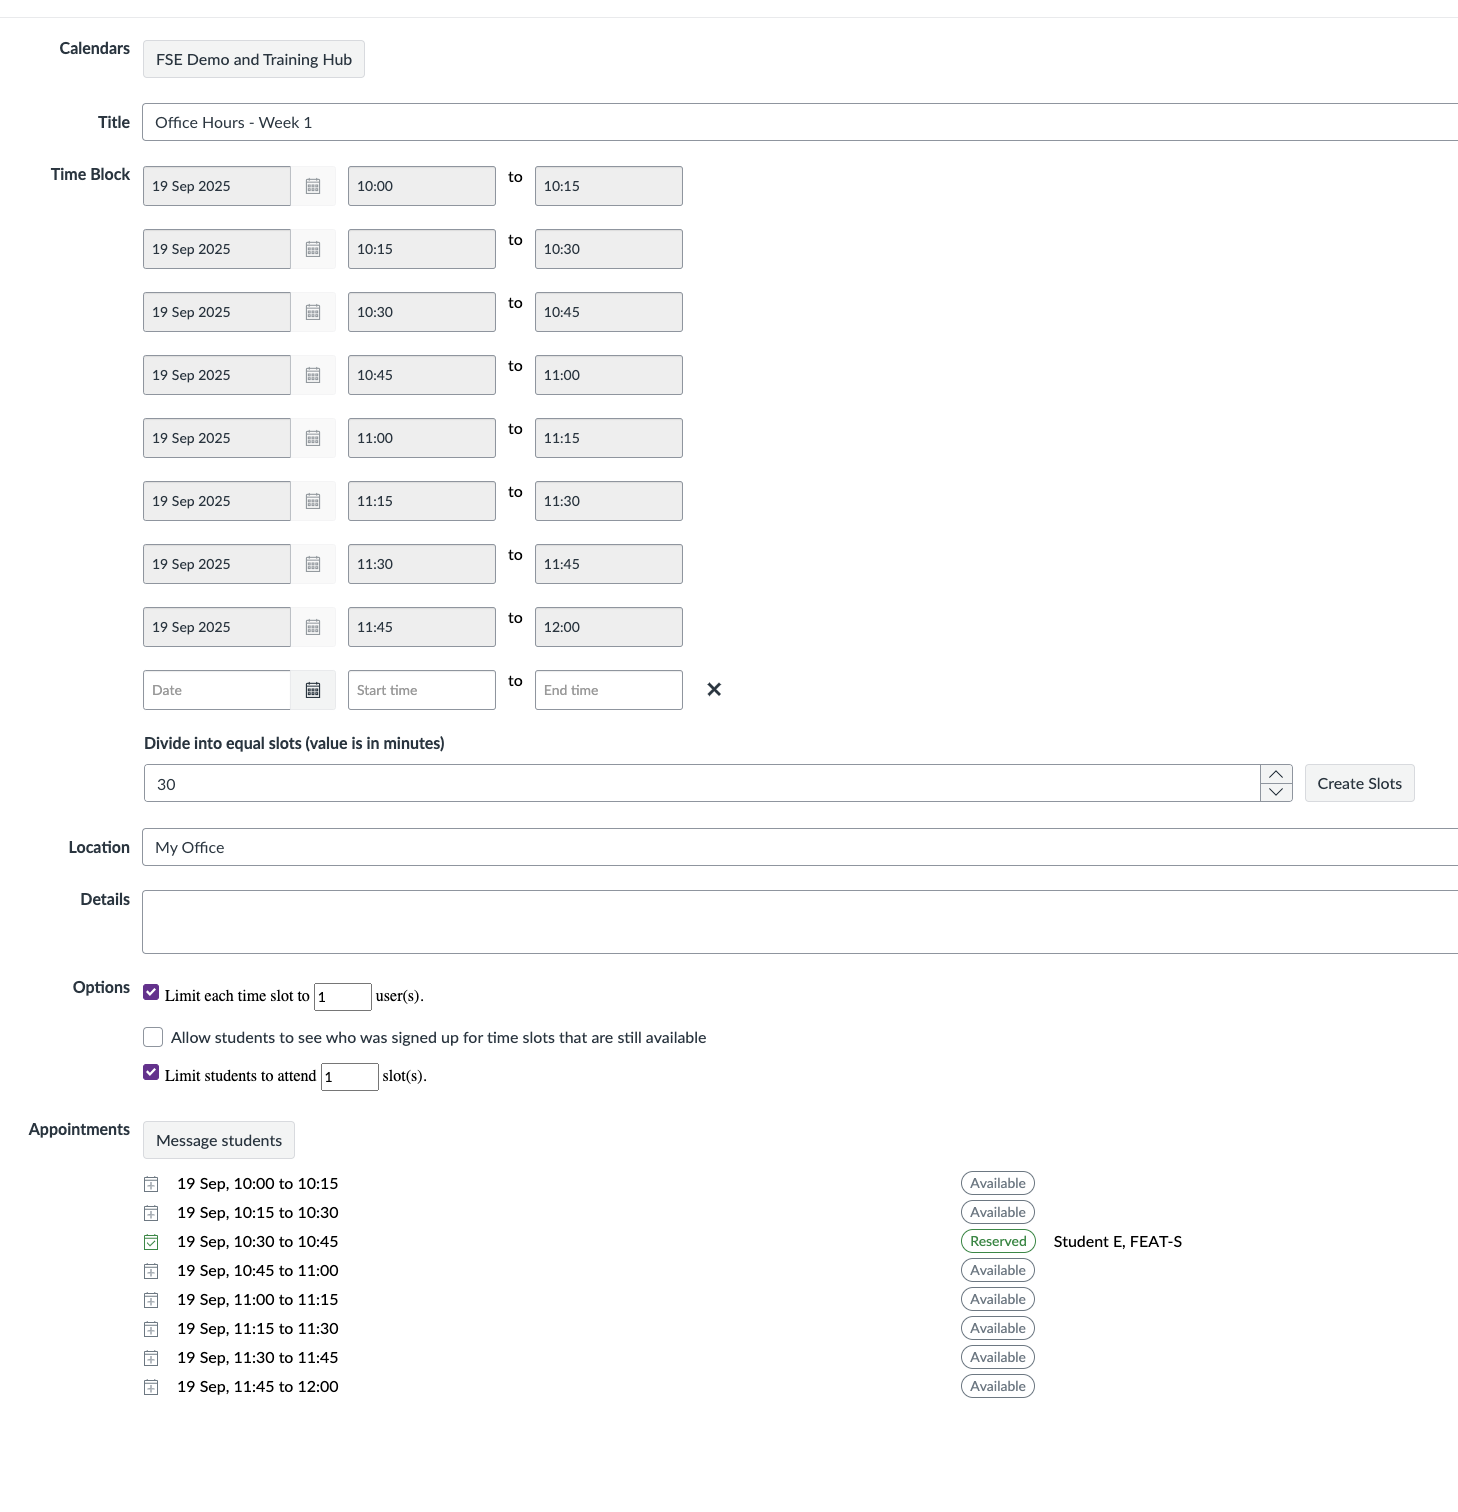
Clicking the Group Details button will take you to an overview page, where you can view and manage the entire appointment group. From this page, you can make edits, see all available and booked slots, and view the names of any students who have signed up.
How Do Students Book an Appointment?
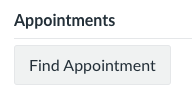
To book an appointment in a given appointment group, students must first navigate to the calendar from the global navigation menu. Appointments do not display by default on the calendar – students must select the Find Appointment option.
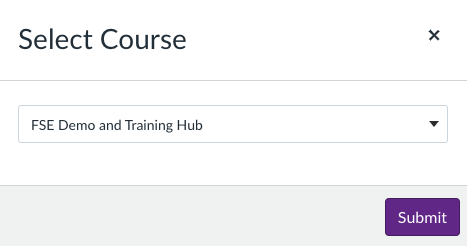
Selecting this option will prompt the student to choose a course. If the selected course contains any bookable appointments, it will appear in the list. Once a course is selected and confirmed, the student’s calendar will display all available appointment slots for that course.
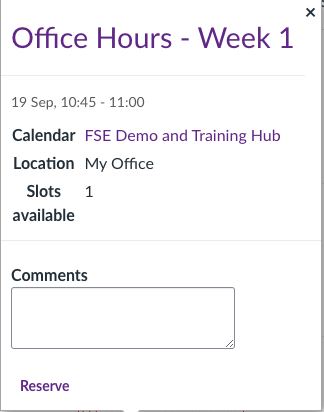
To reserve a slot, students simply select their preferred time, optionally add a comment, and click Reserve.