This post includes step-by-step guides on how to use Ally efficiently to ensure the content in your Canvas spaces are accessible to all.
Ally via the Rich Content Editor
Follow the process below to make the material you build in the Rich Content Editor (RCE) accessible.
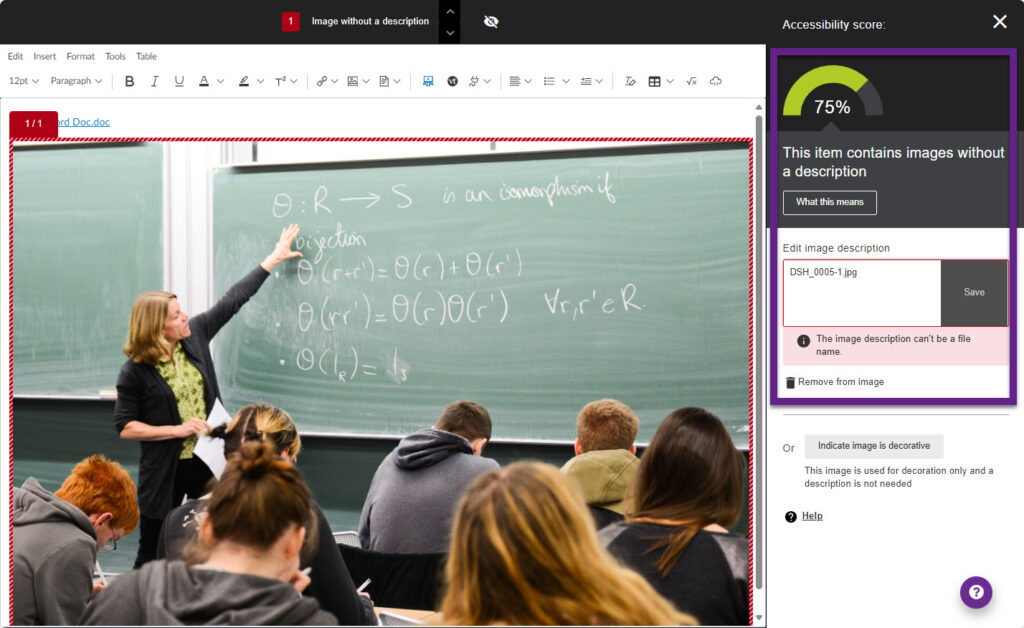
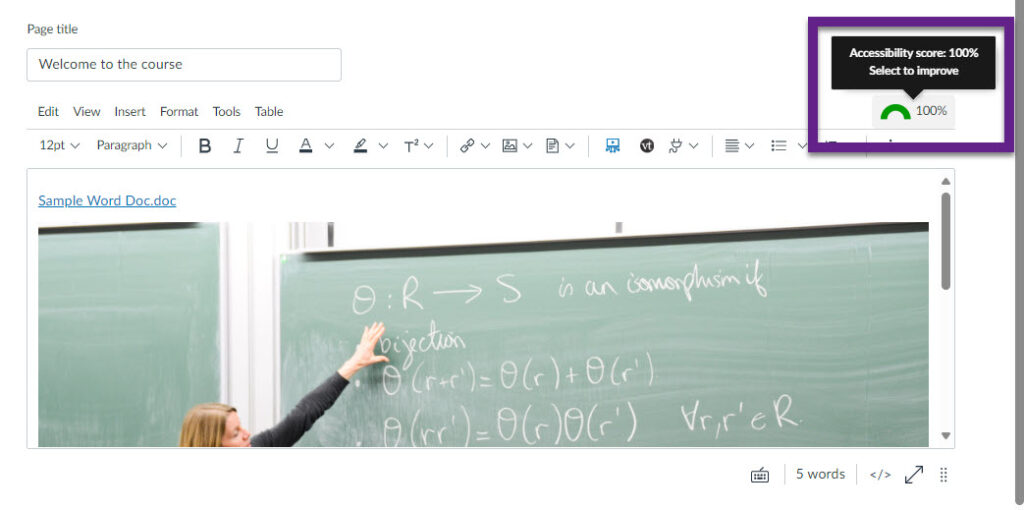
- You will see a dashboard metre atop the RCE. This indicates the level of accessibility of the content you’re creating.

2. Select this dashboard metre to open up the accessibility report. You will then see what the issues are and you can follow the steps to resolve these.
3. Once you have made the edits to your content (in this case, adding alt text to the image), you will then see your accessibility score improve on the dashboard metre.
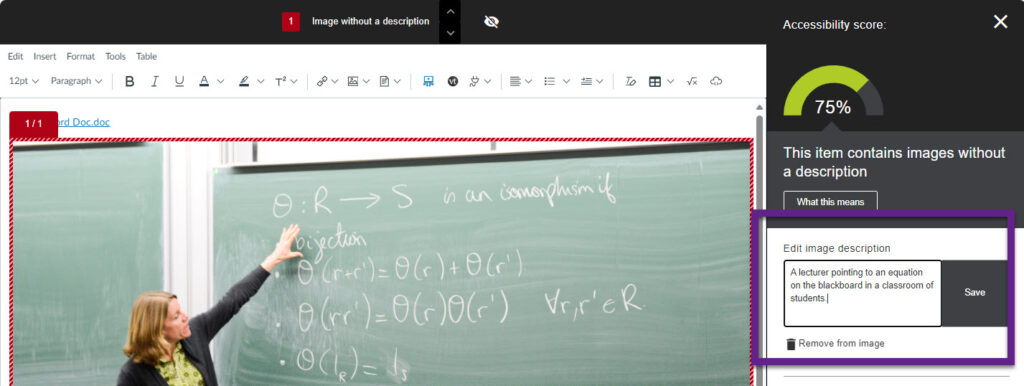
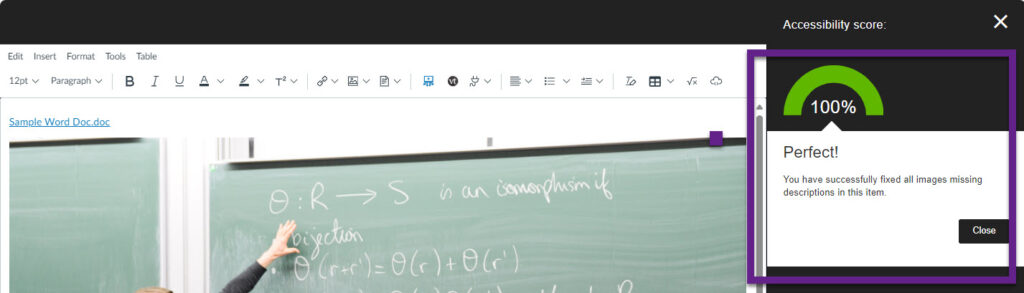
4. When you close the accessibility report after making these improvements, you will see the updated dashboard metre atop the RCE as well.

Please note that Ally in the RCE does NOT check for uploaded item accessibility issues. To ensure these are also accessible, follow the steps in the next section.
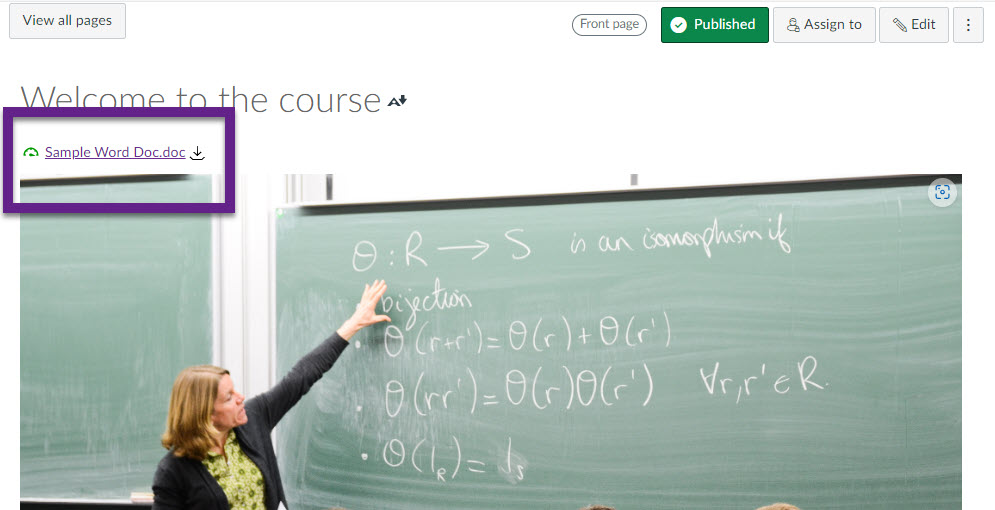
Ally on Items
Follow the process below to make the items you upload onto your Canvas spaces accessible.
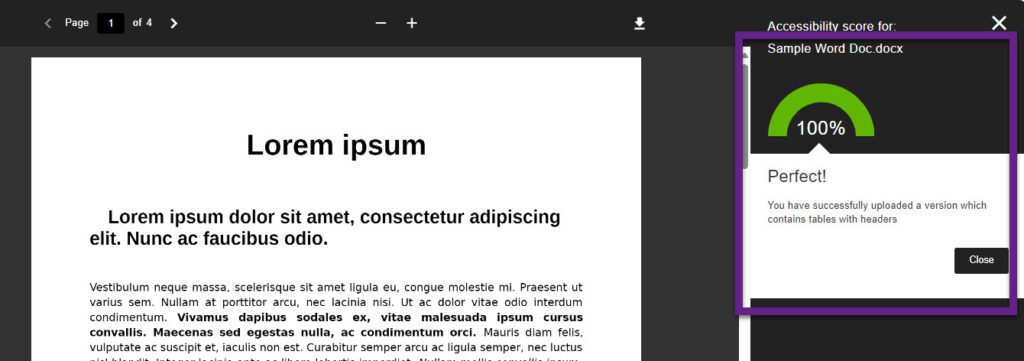
- Next to your item, you will see the accessibility dashboard metre.
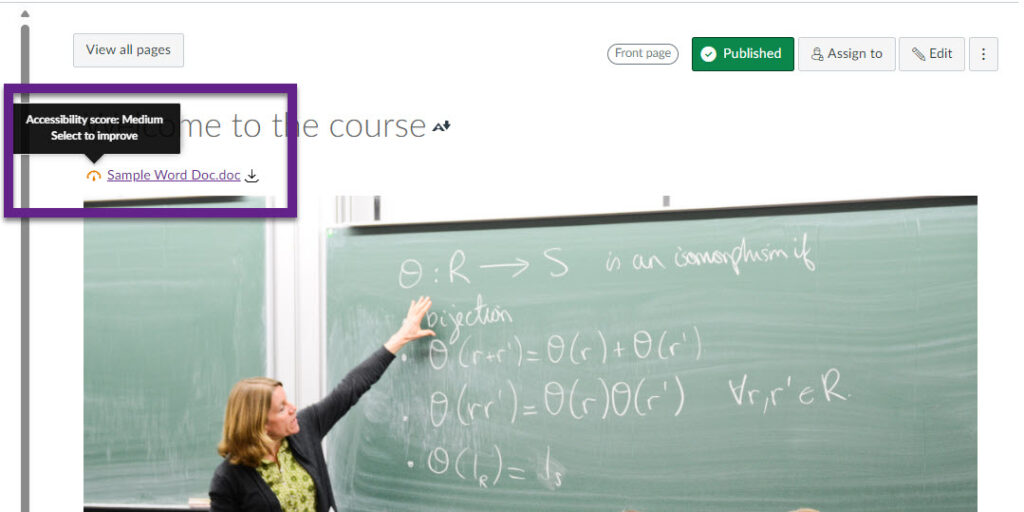
2. Select this dashboard metre to open up the item’s accessibility report.

3. To view a list of all the issues in your file, you can select ‘All issues’. You will then be given a detailed account of each issue, and selecting each item highlights the specific problem in the document.
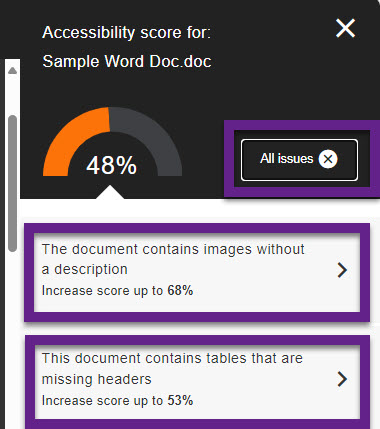
4. You will then have to make the necessary edits in the original version of the file, then reupload this improved version onto the report. Once you’ve done this, the accessibility score will be updated.