This guide explains how to upload personalised documents into Canvas Gradebook so each student can access their own file securely. This is useful when distributing feedback forms, academic transcripts, individual letters or other administrative documents.

Always upload confidential student information via Gradebook or SpeedGrader to maintain student privacy. Do not post individual student files in public areas of the course, such as modules, discussion boards or shared folders.
Step 1: Prepare your files
- Save each file with a consistent naming convention that includes the student’s name or ID. Example: transcript-letter_john_smith_0012456.pdf.
- Ensure all documents are in PDF or Word format.
When naming files by student number, ensure the information is accurate and student names match student ID numbers. Double-check for typos or mismatches before uploading.
Step 2: Create a No Submission Assignment
- Click Assignments in the course menu.
- Click + Assignment in the top right corner to create a new assignment.
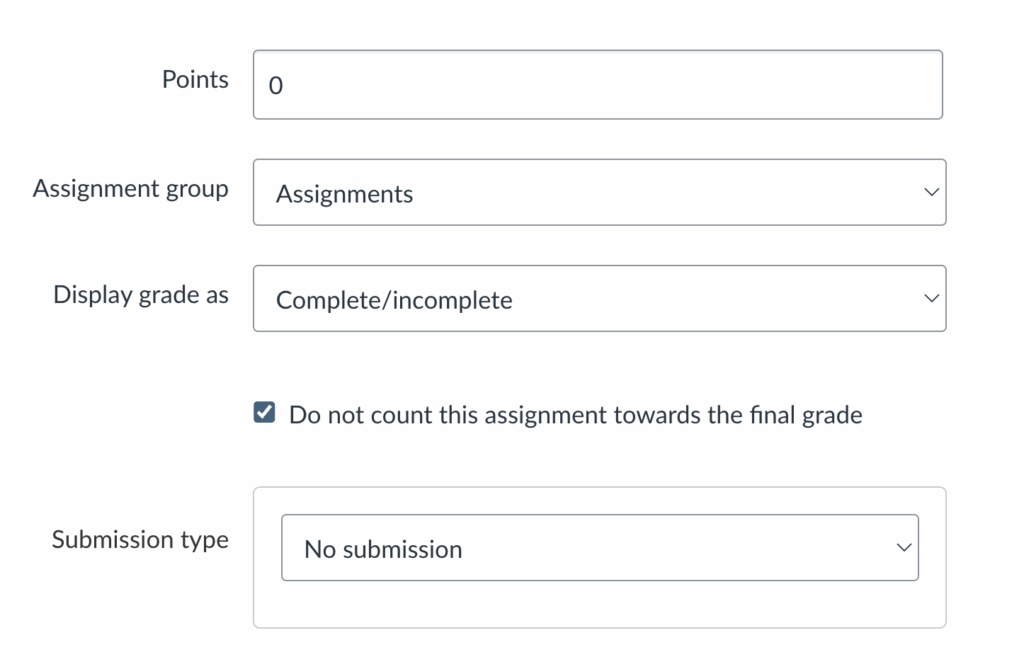
- Configure the assignment settings as follows:
- Add an assignment name and a description (optional).
- Points: set to 0.
- Display grade as: Complete/Incomplete.
- Select Do not count this assignment towards the final grade.
- Submission type: No submission.
- Scroll to the bottom and click Save to create the assignment.
Step 3: Attach files to specific students
- Click Assignments in the course menu.
- Locate the assignment that you have just created.
- Click the three-dot icon next to its title and select SpeedGrader.
- In Speedgrader, complete the following steps:
- Select the relevant student in the top right corner.
- Mark the assignment as complete.
- Click the paperclip icon to attach a file; click Choose File then select the file to upload.
- Check that the correct file has been selected before submitting.
- Click Submit to upload the document.
Step 4: Release files to students
Once the relevant files have been uploaded via Speedgrader, follow these steps to release them to students:
- In the course menu, click Grades to access the Gradebook.
- Locate the column for the No Submission assignment you previously created.
- Click the three-dot icon in the column header, then select Post grades.
- In the panel that appears on the right, verify that the correct assignment is selected. Then, click Post to release the files and make them available to students.
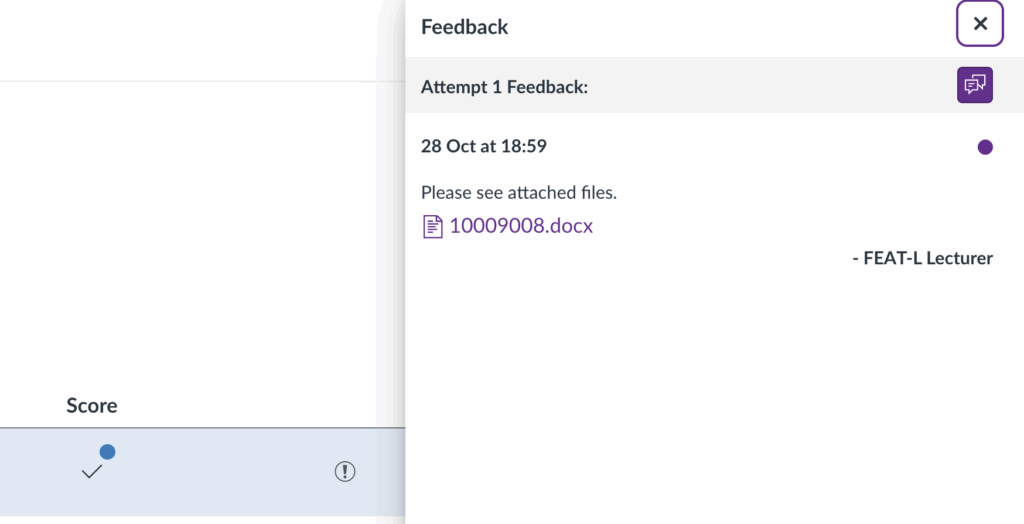
How students access the files
Once the files have been released via Post grades, students can access their document via the Grades area of the course.
When a student opens their Grades area, a dialog icon will appear next to the No Submission assignment to indicate that a comment is available.

Clicking this icon will display the feedback panel on the right-hand side, where the attached file can be downloaded.