Creating Files

The content type of File, can be used to upload a single file to Blackboard. The file name appears as a link that users click on to open the file. Below you will find instructions on how to add a file to your Blackboard space
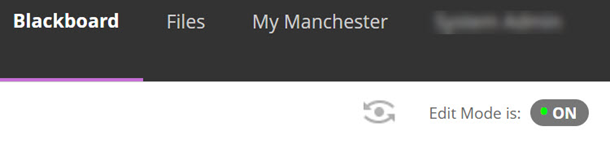
- Check that Edit Mode is set to ON. If Edit Mode is off click to toggle from OFF to ON.
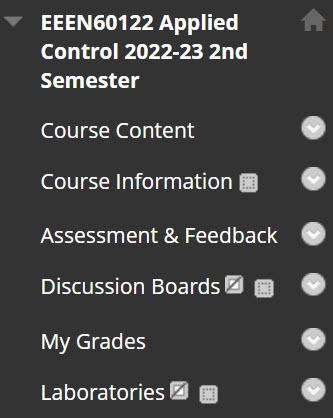
Open the area within Blackboard that you’d like to add the content to. For example, Course Content, Assessment and Feedback.
- Hover over the Build Content tool menu to reveal menu option

- Select File.
Setting up your file
Select File:
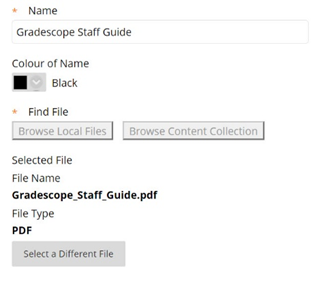
- Name: Enter a name for the File. The file name should be meaningful, so the user knows what content they are accessing when clicking on the file.
- Colour of Name: Can be left as the default colour black.
- Find File:
- Use Browse Local Files to locate files saved on your computer, including One Drive files.
- Use Browse Content Collection to locate files which have been uploaded to the content collection within Blackboard.
- If you accidentally chose the wrong file click on Select a Different File
File Options:
- Open in New Window can be left as default No.
- Add alignment to content can be left as default No.
Standard Options:
- Permit Users to View this Content must be set to Yes for students to be able to see the file.
- Track Number of Views can be left as No.
- Select Date and Time Restrictions can be used to control the date and time which the file is visible to students. To use these options, tick the checkbox next to Display After / Display Until boxes and enter an appropriate time.
- Click Submit to create your file.